I’ve been learning about 3D modeling and 3D printing over the last month, and TinkerCAD is one piece of software which was recommended to me as a beginner. I have to say, there’s a lot to love about it: it’s free, it’s easy to learn, and it’s web-based, which is a bigger advantage than you think. A cloud server does all the computational work and also stores the models you make, so you don’t need to install anything, you don’t need a powerful computer, and you can access your files from anywhere. I’m sure there are some things that TinkerCAD doesn’t do as well as the big non-cloud-based softwares, but it’s been more than sufficient for my needs thus far.
The post this time is a simple TinkerCAD tutorial that teaches a few useful tricks for beginners.
Recently I’ve been using the Image Generator tool to make usable shapes out of 2D images, and I’ve been practicing by making stuff using the doodles that my fiance and I draw sometimes. Here’s a dog tag with one of Little Kitune’s ‘mascot characters’, CanCan-chan the fox:
For this tutorial I’m going to make a keychain with another one of our ‘recurring characters’, Honey-chan, who is a living jar of honey (long story). There will be two parts: in Part 1 we’ll design a basic keychain shape, and in Part 2 we’ll import a drawing and add it to the keychain as an emblem.
Part 1: Making the Base Shape
TinkerCAD has a lot of basic shapes like cylinders, rectangular prisms, etc, so this would be very easy if I picked one of them for my key chain shape. To learn some basic shape building skills, let’s try to make a shape a little like this one, but with a vertical hole instead of a horizontal one.
Photo courtesy of user TheEgyptian on www.wikipedia.org, used under CC-BY-SA 3.0.
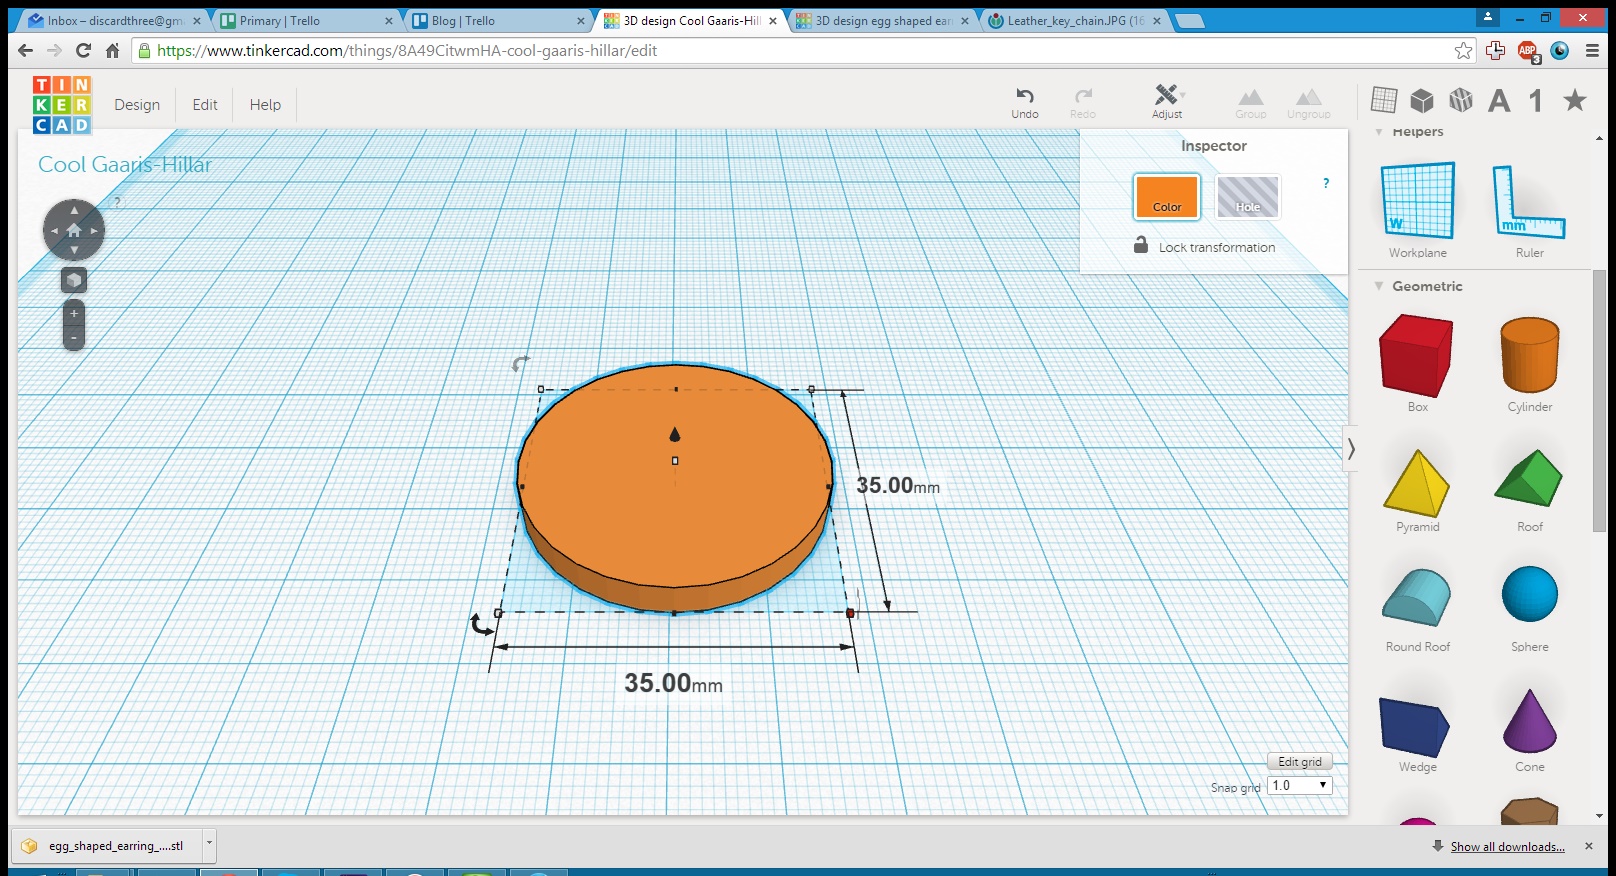
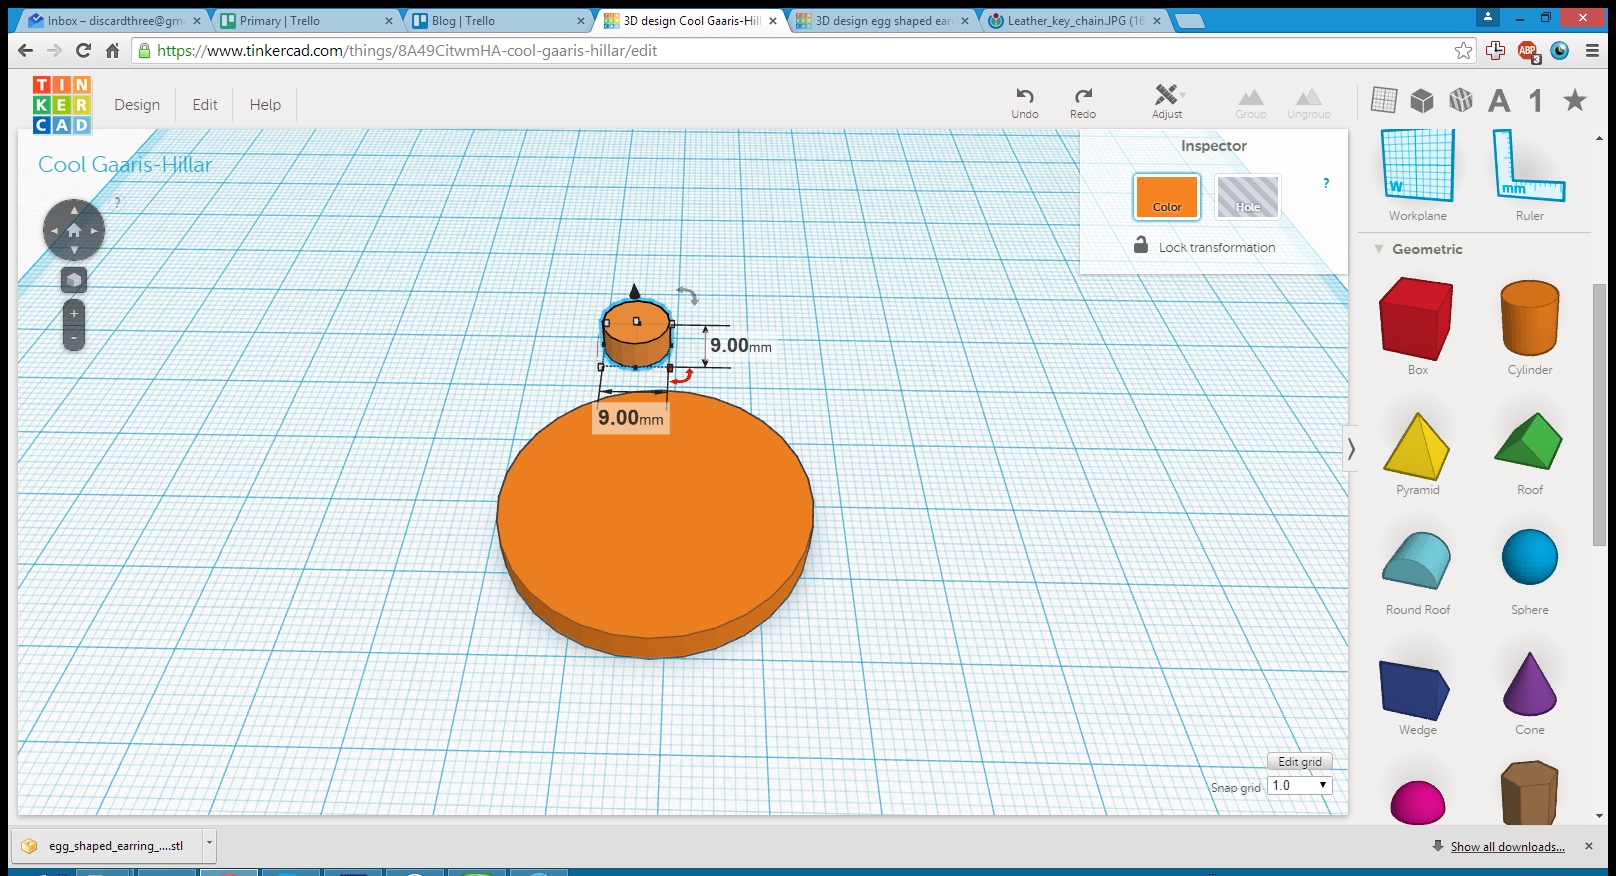
Beginning from a blank workplane, I dragged a cylinder to the plane, shortened the height to 4mm, and stretched the length and width to 35mmx35mm. Then I added another cylinder and made it 9mmx9mmx4mm. This will be one of the rounded corners at the narrow end of the keychain. TIP: Because we want to make something which is symmetric, it’s easier to make half the object and then use the mirror tool to create the other half.
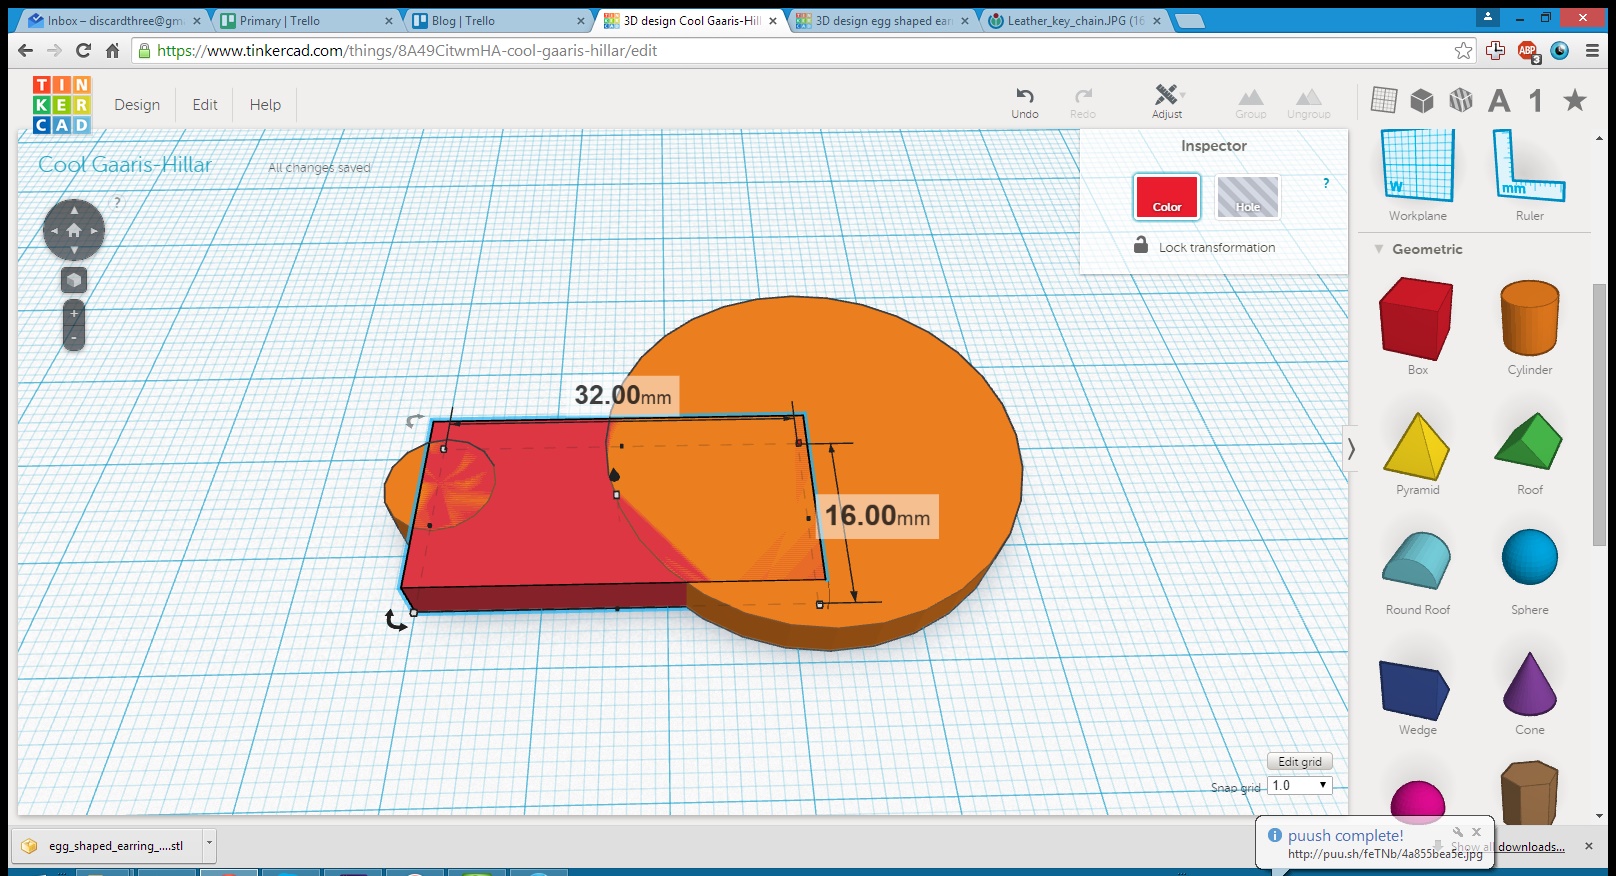
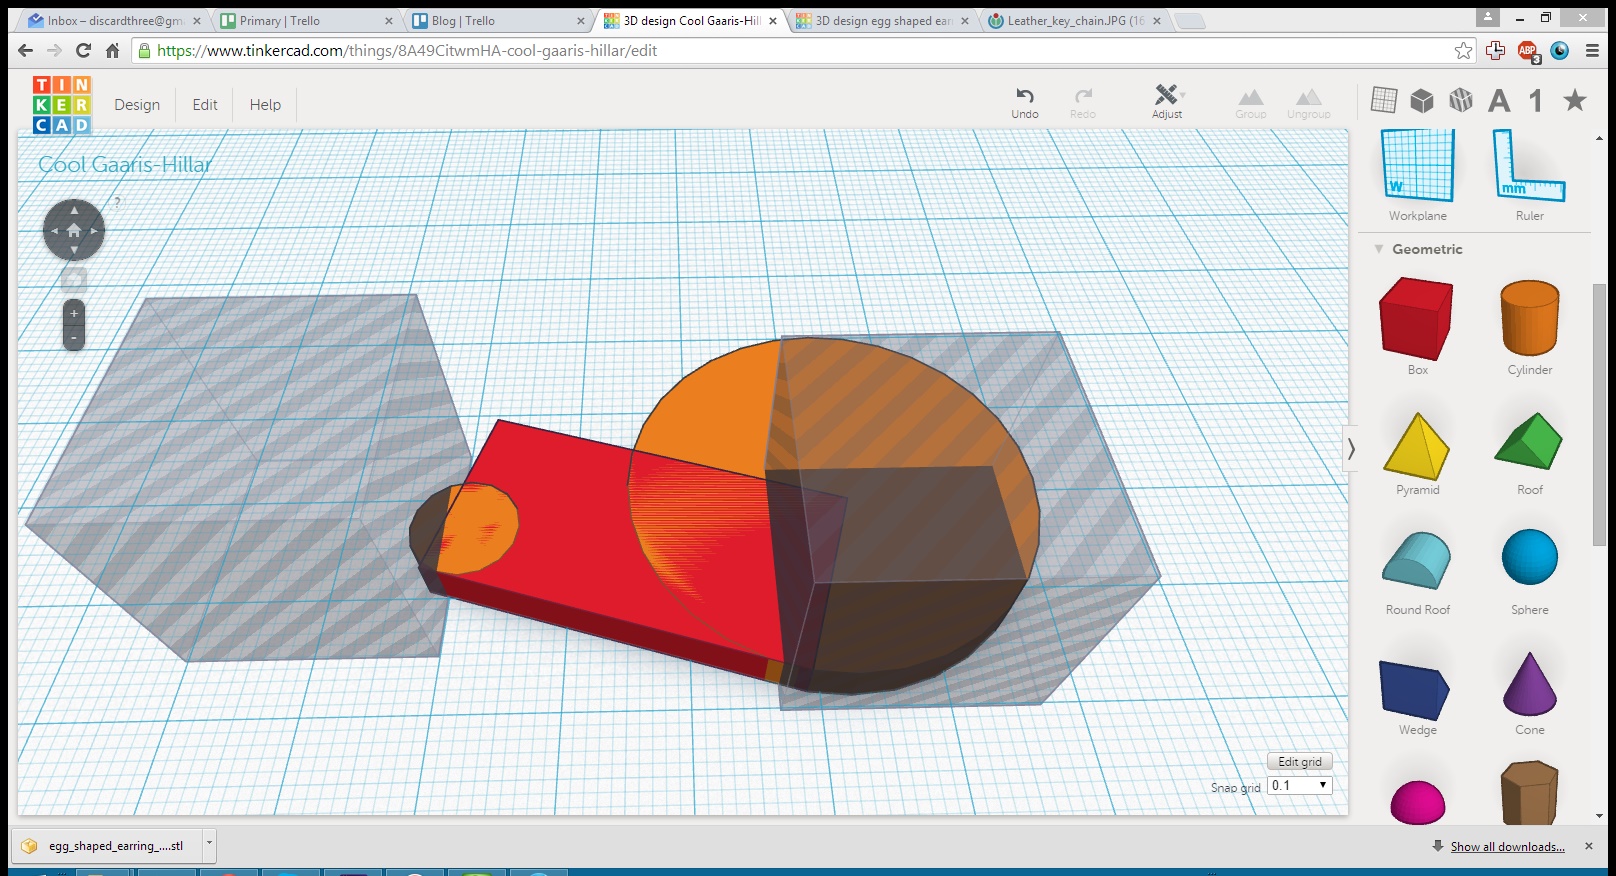
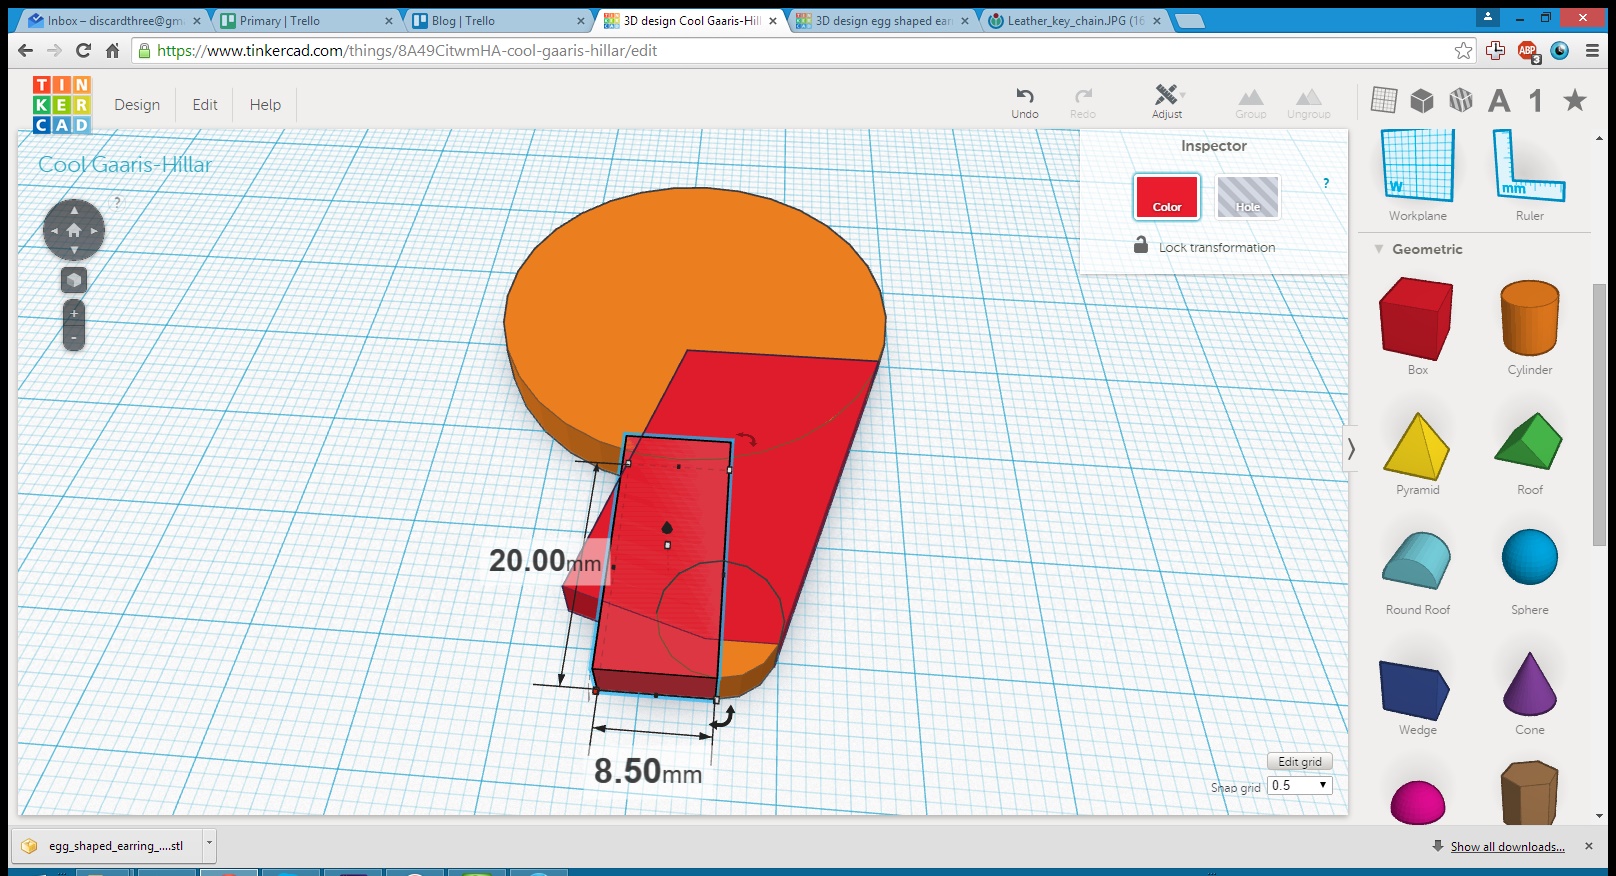
Next we want to make the side of the keychain, basically on a line that will be tangent to both circles. First we make a rectangle and move it to the area, then we’ll rotate it until the angle looks like a good match:
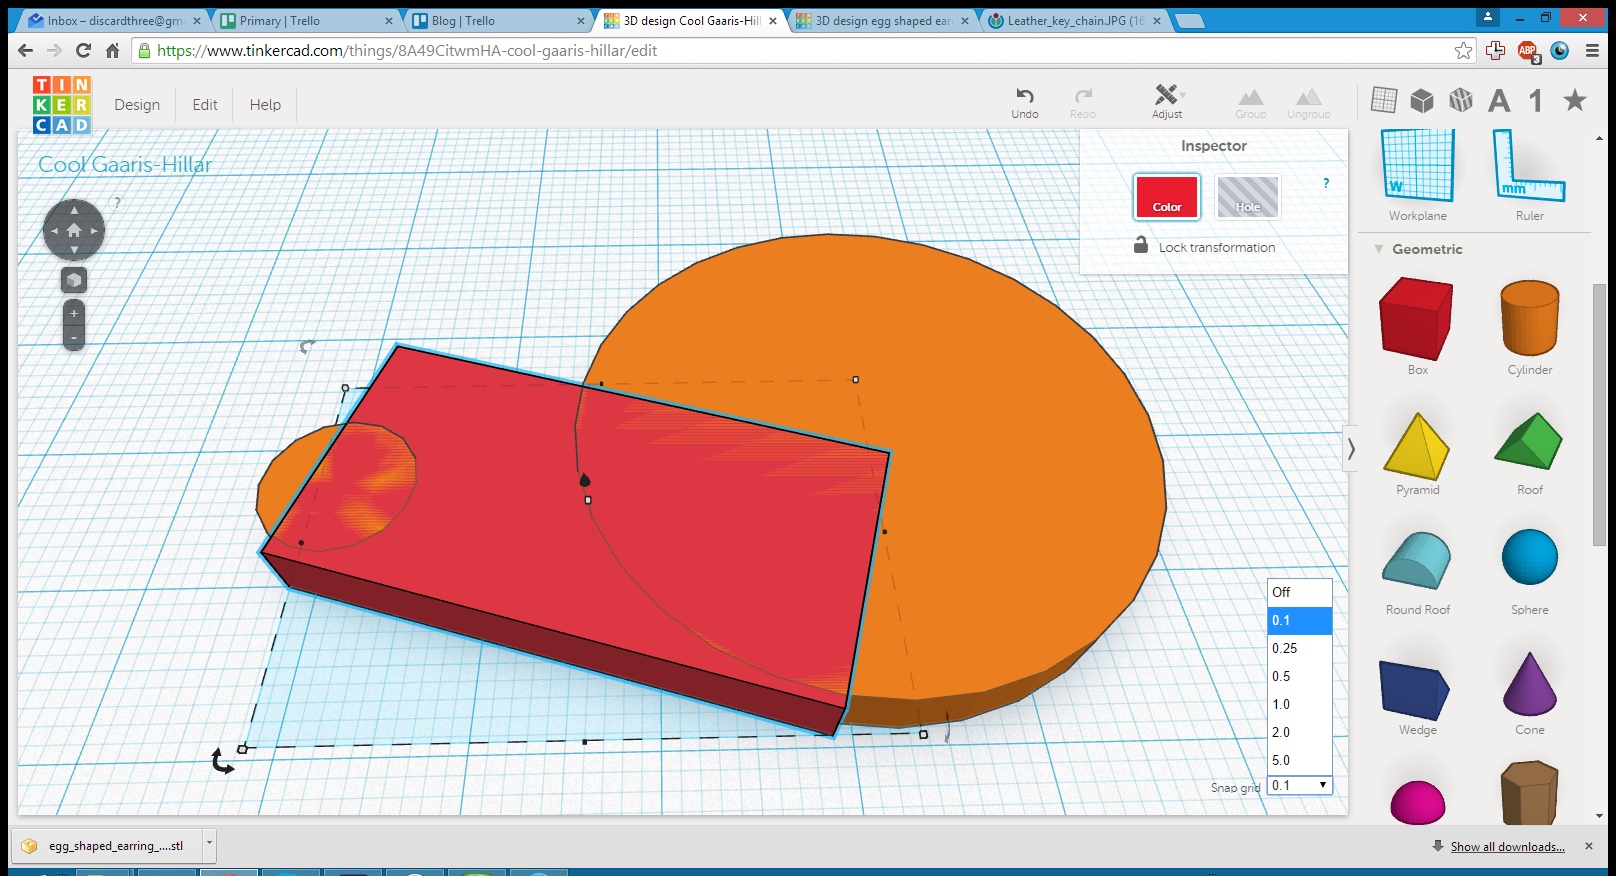
Then we’ll change the Snap to Grid value to the smallest option and use the arrow keys to shift it into place. Tip: if you want to look at something from a 2D perspective, move the view so you can at it from directly below. This makes it easier to tell if something is positioned perfectly.
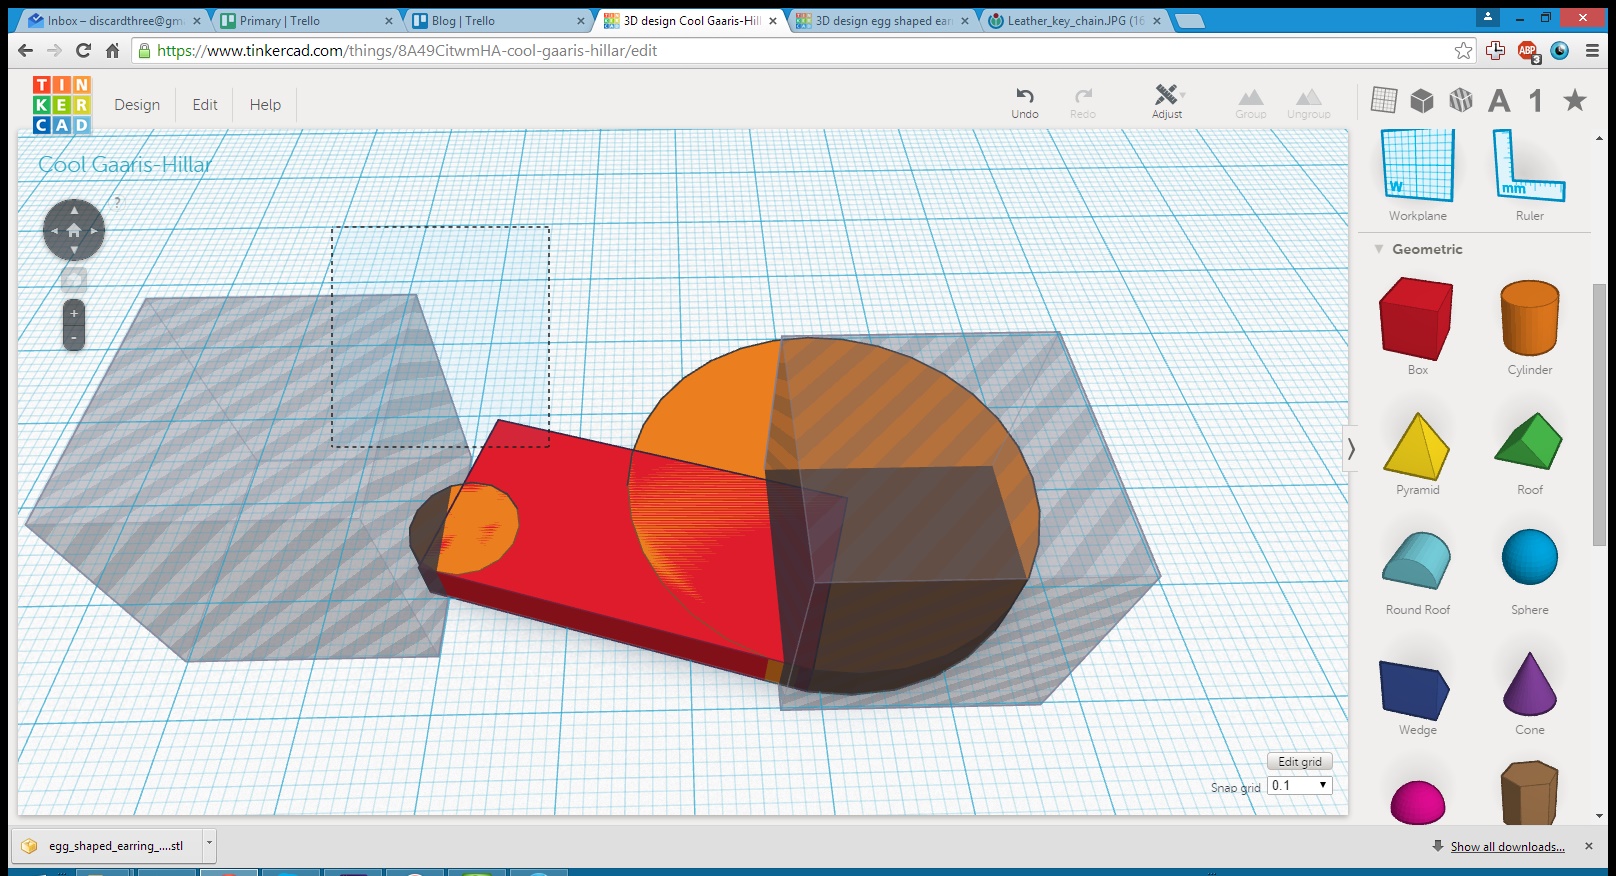
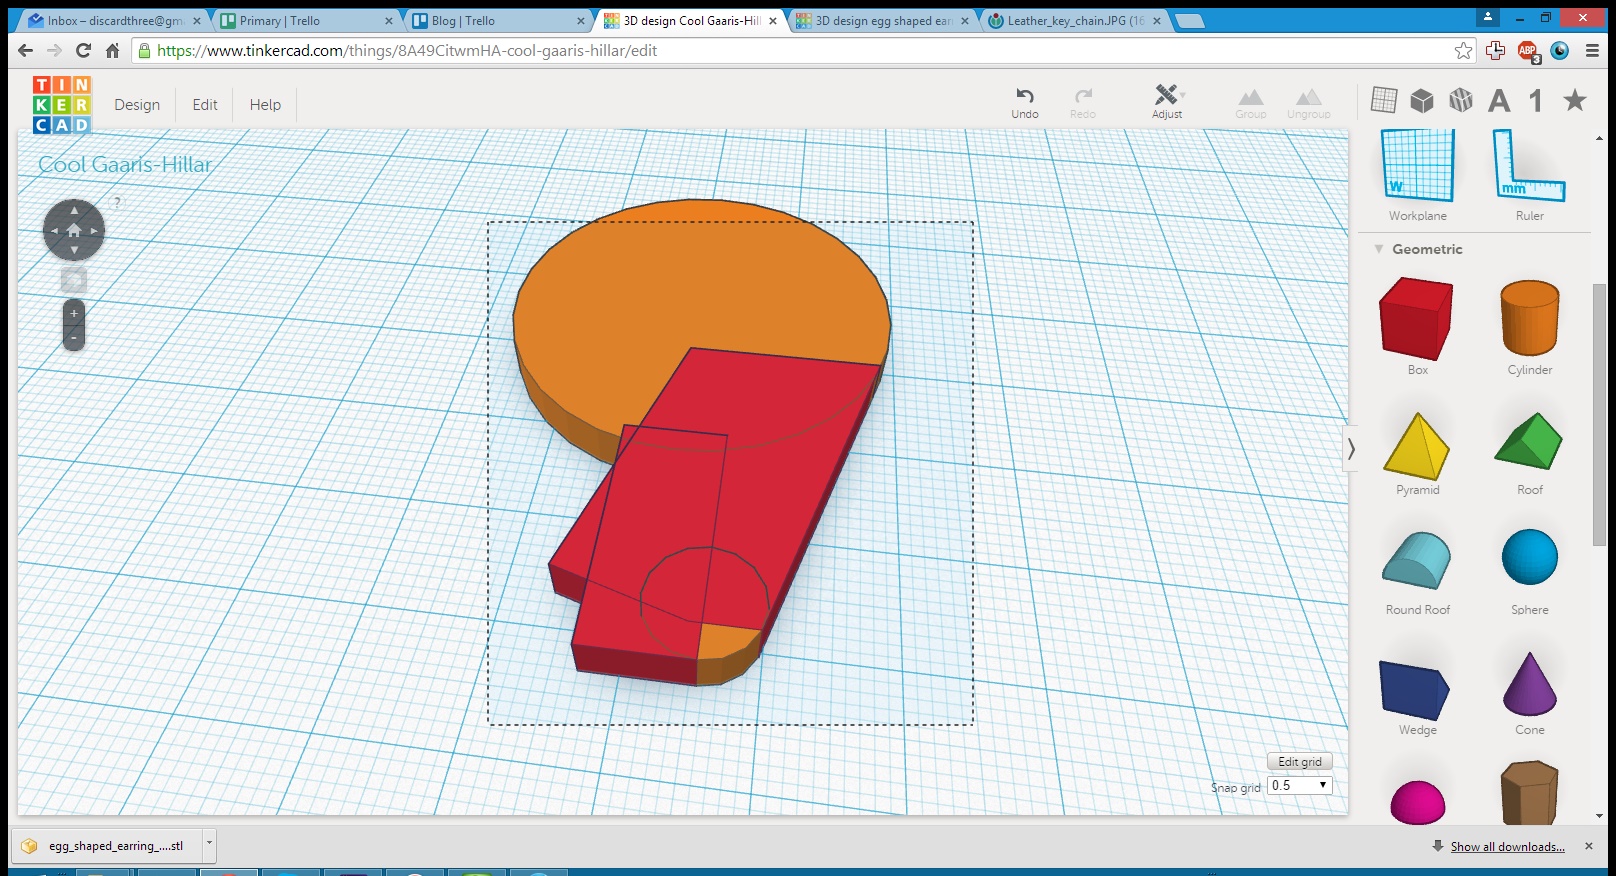
Next we need to identify the points where we want the rectangle to end and the cylinders to begin, and we need to delete the extra parts of the rectangle. We do this by making ‘hole’ shapes in the places where we don’t want the rectangle to be, and then using the Group button on the top menu bar to combine the rectangle with the holes. Be careful not to group the cylinders as well!
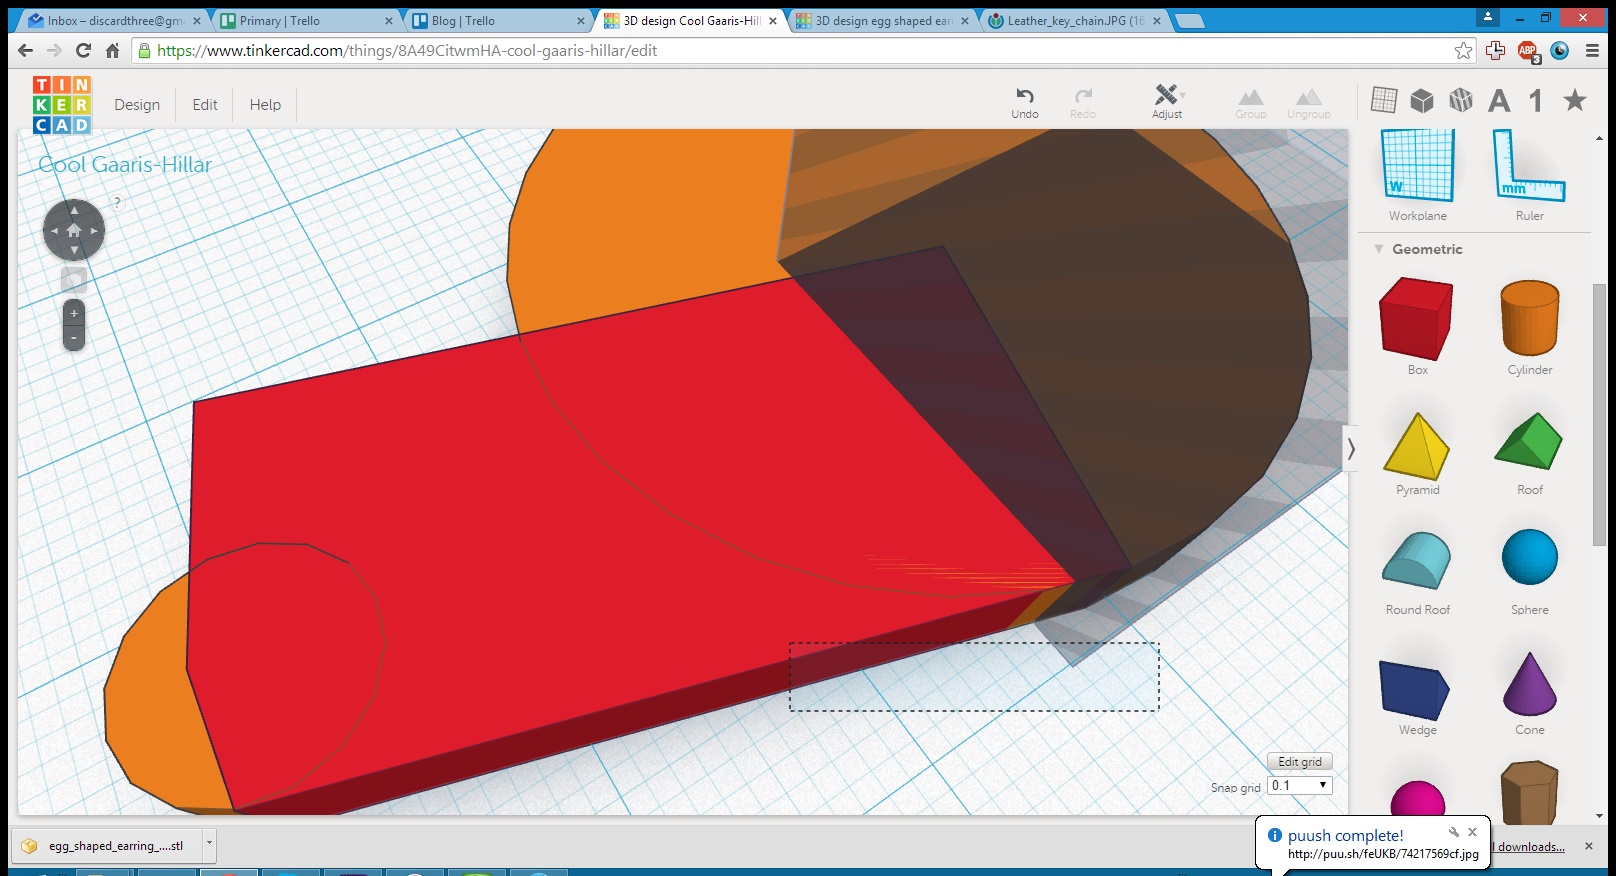
Now we need to complete the first half of the keychain by creating a rectangle to form the short edge and fill the middle area.
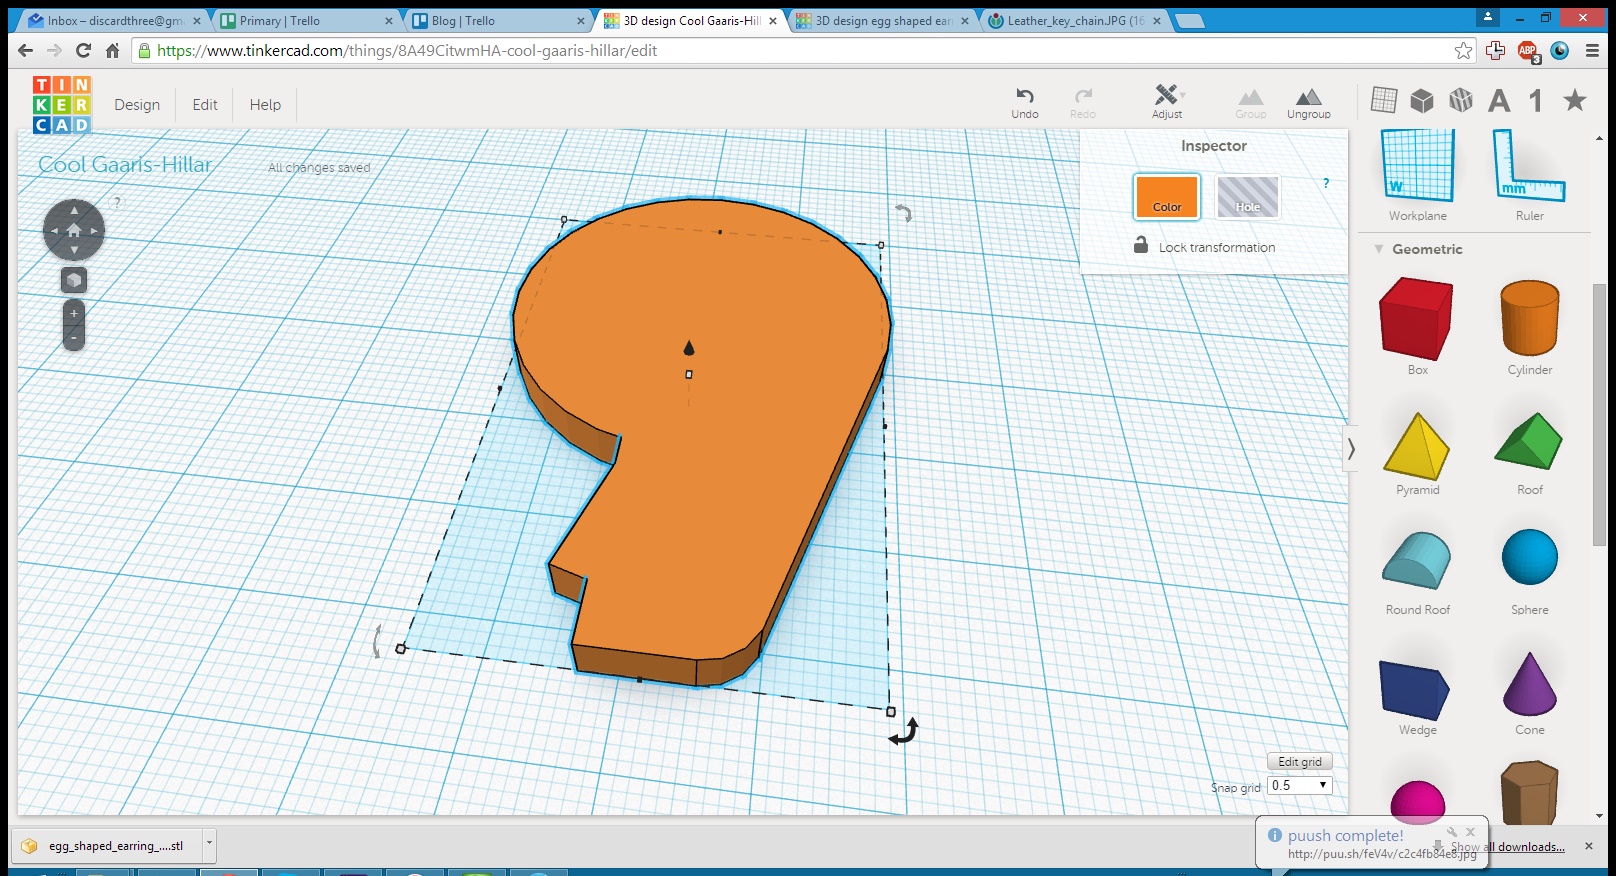
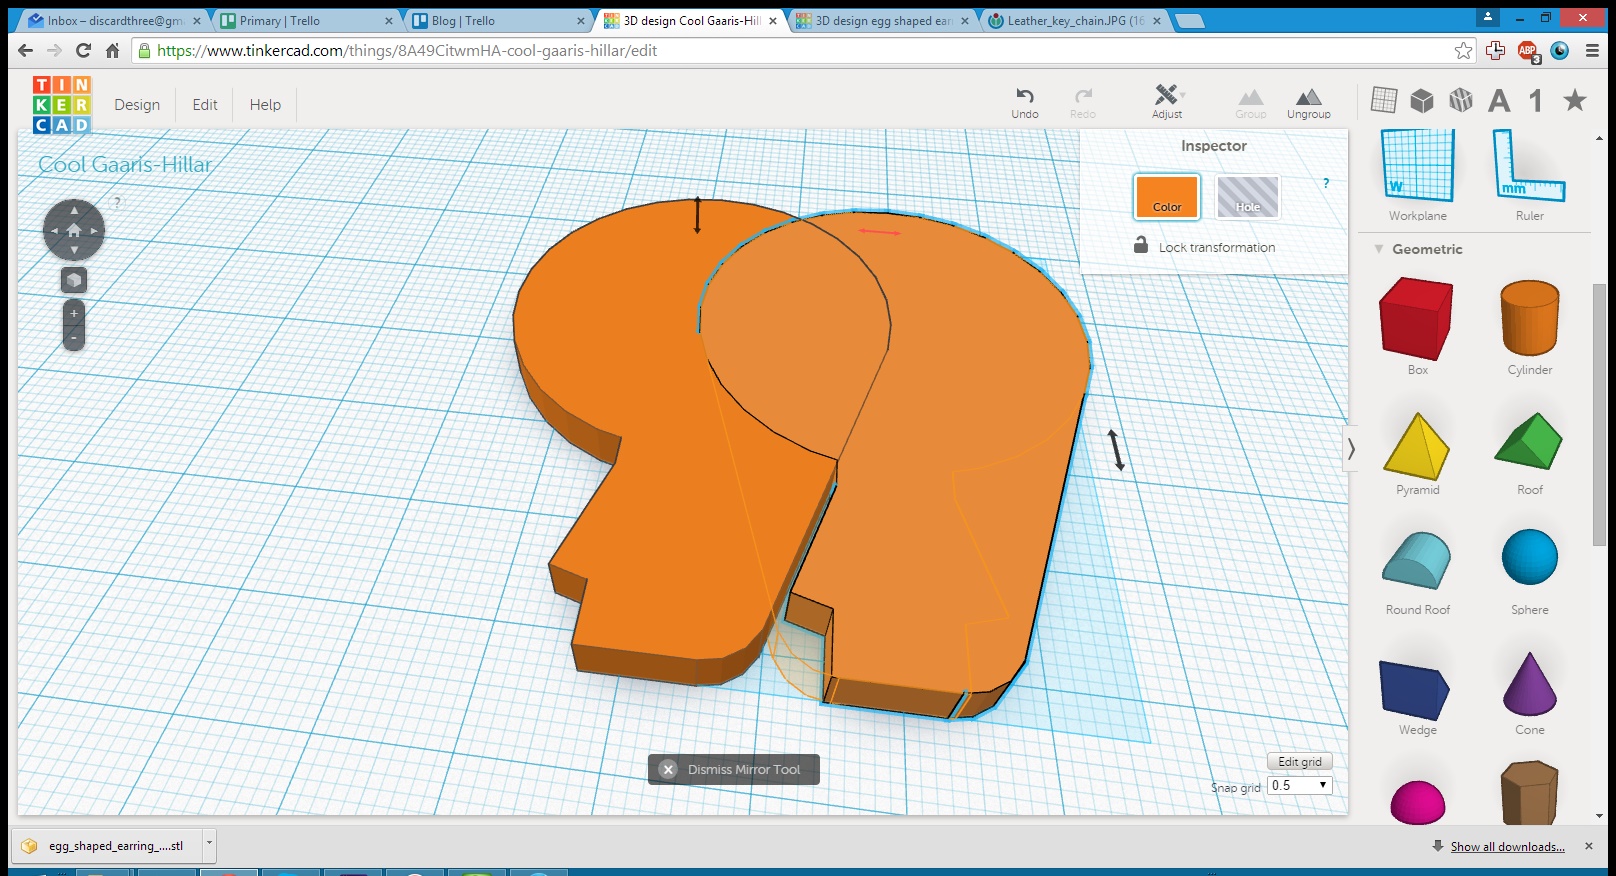
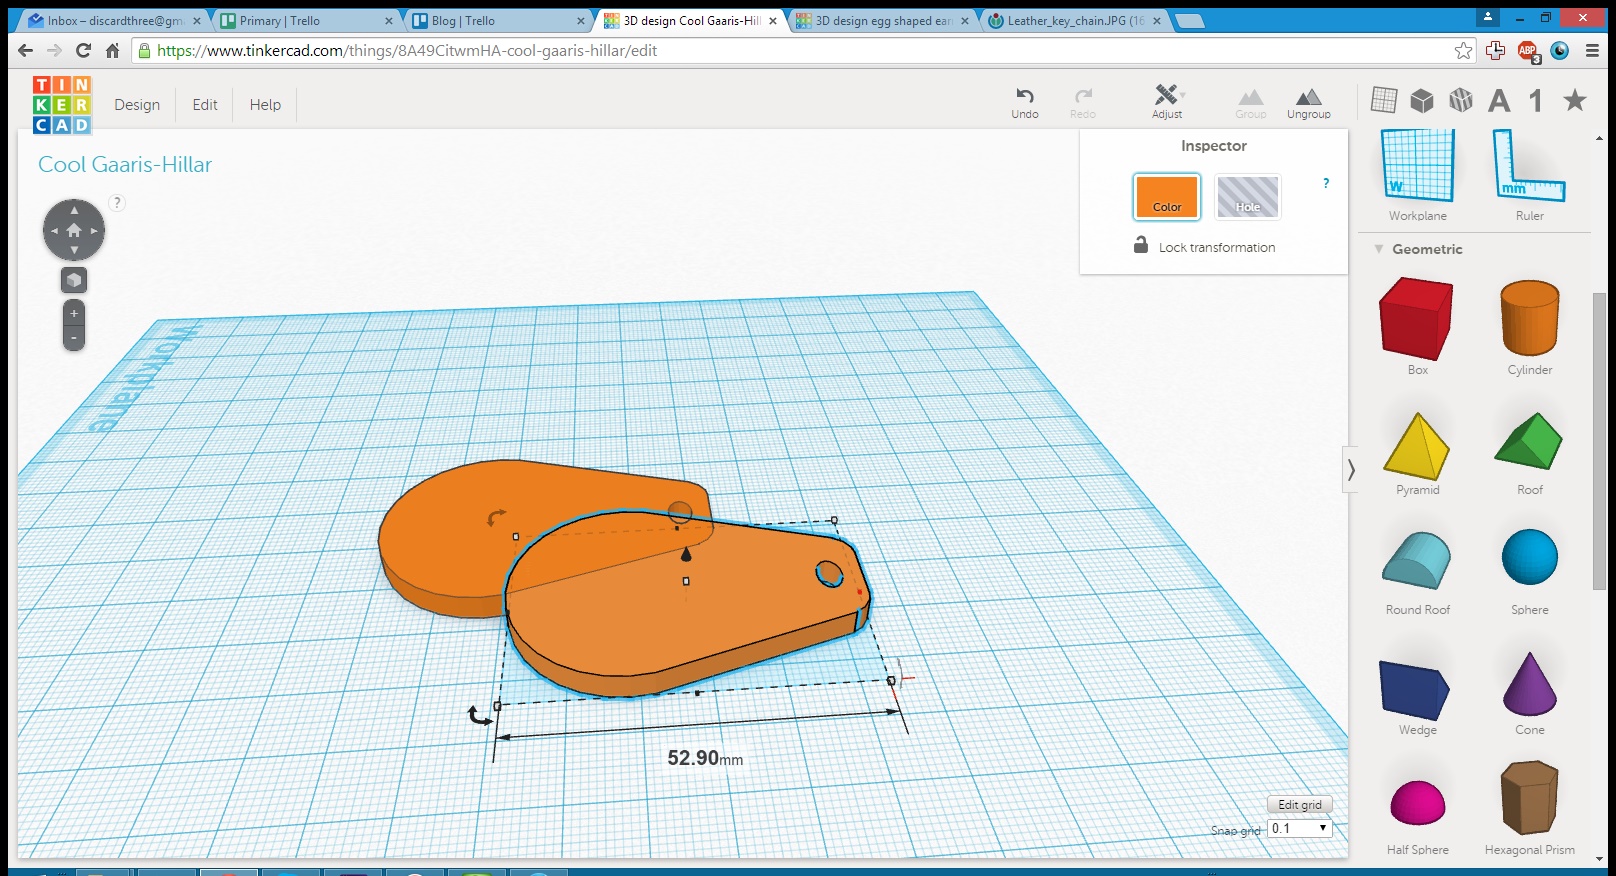
First half now complete, we’ll group it, copy and paste it, and then, with one of them selected, click Adjust -> Mirror and select the axis to mirror the shape in. TIP: hold the mouse over one of the double arrows (<–>) to preview the result before you do the mirror operation.
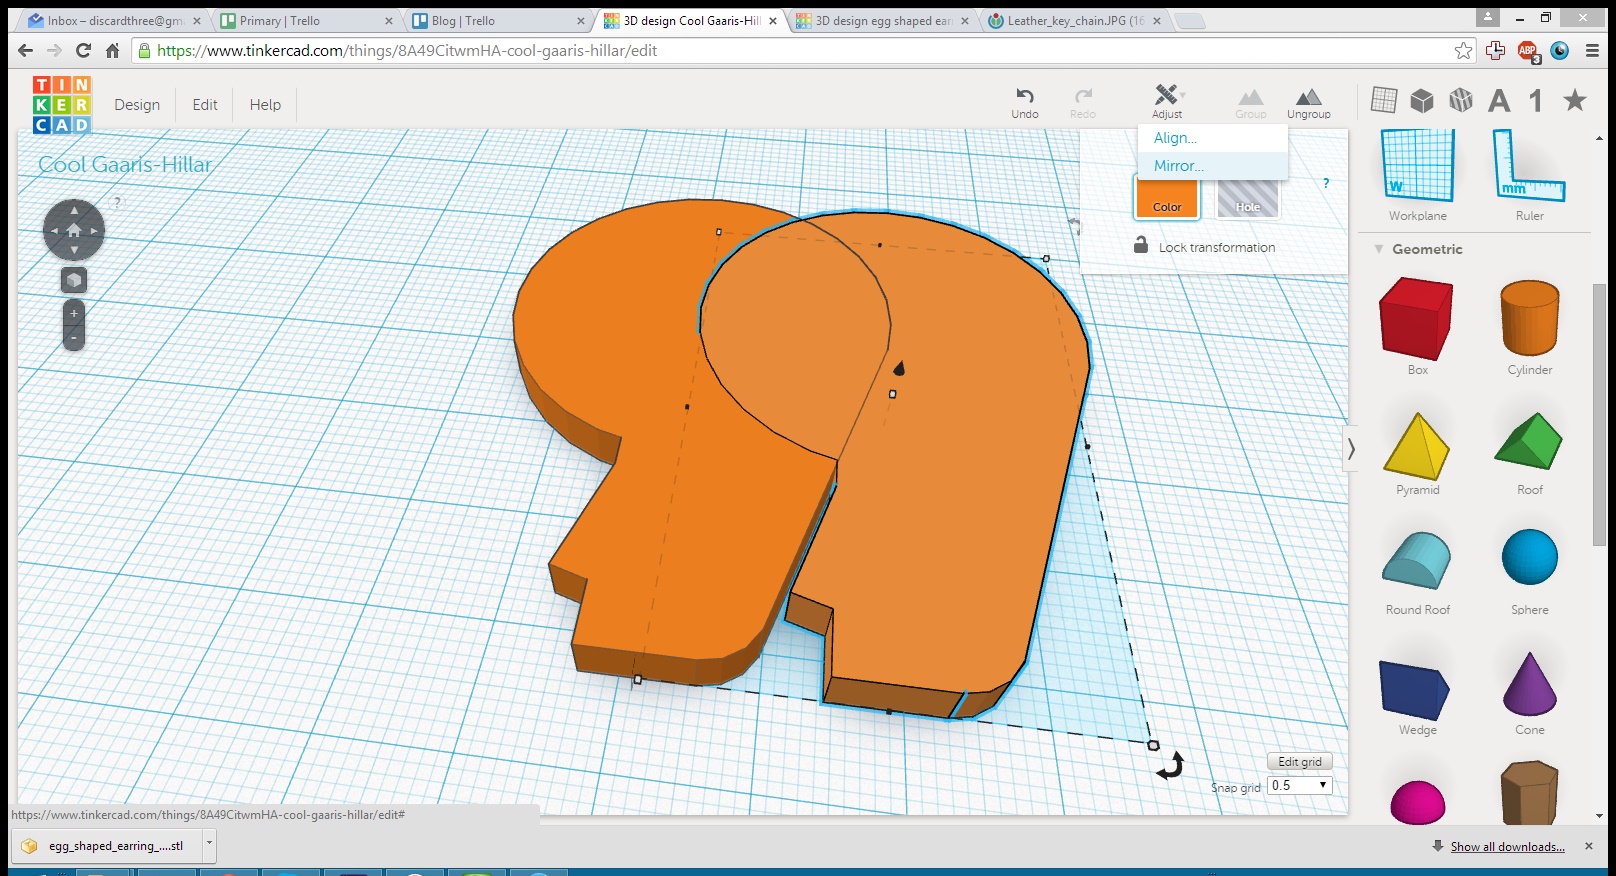
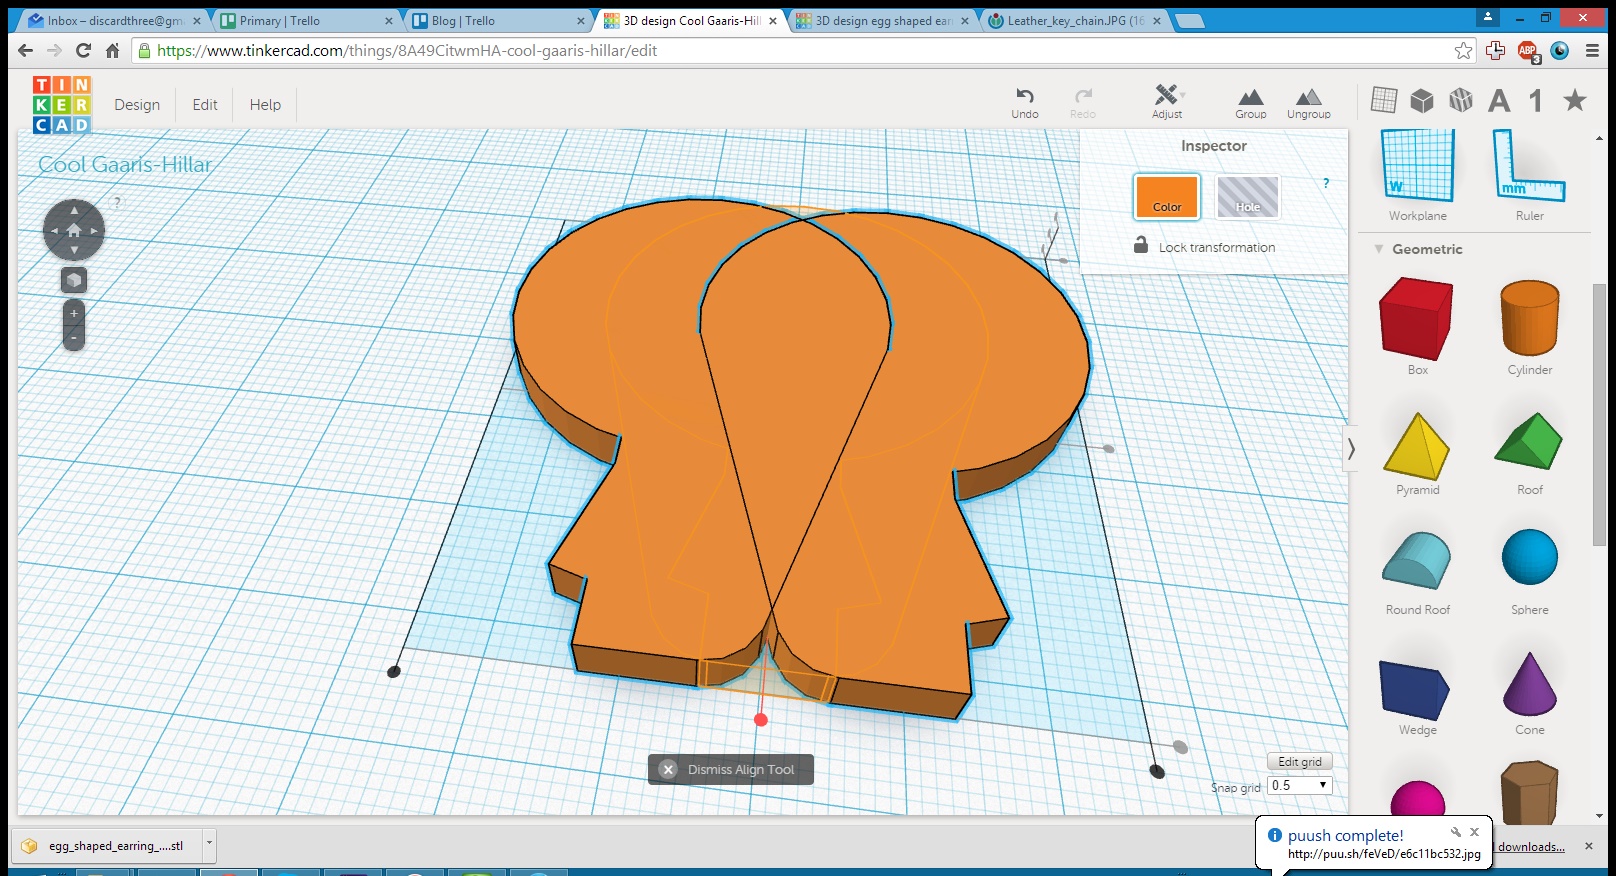
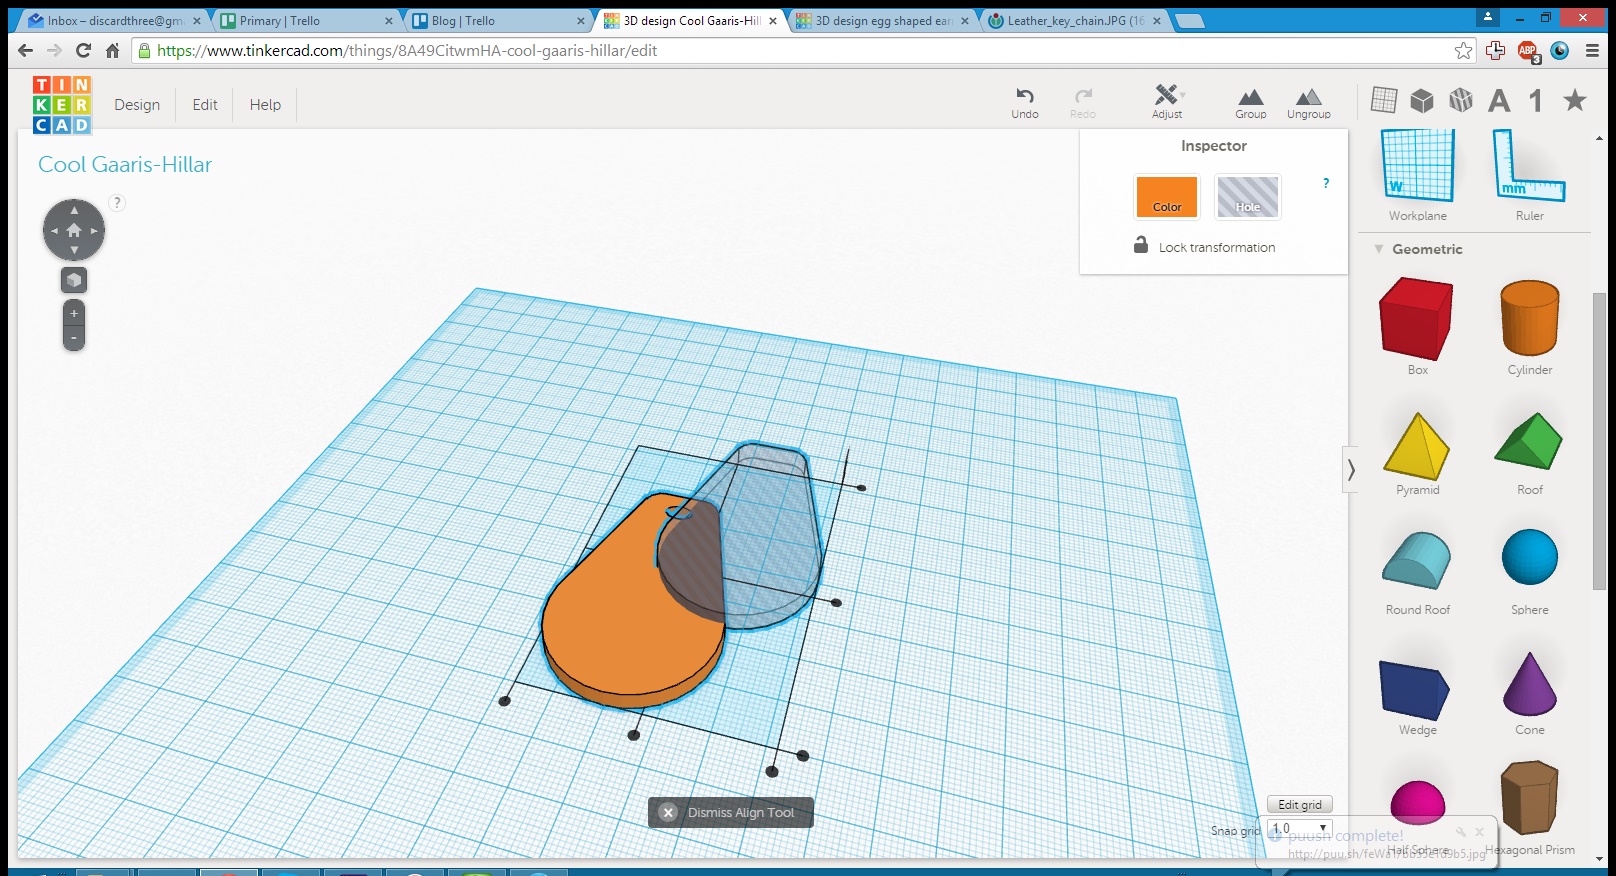
Now select both halves and click Adjust->Align and select the middle dot on the appropriate axis:
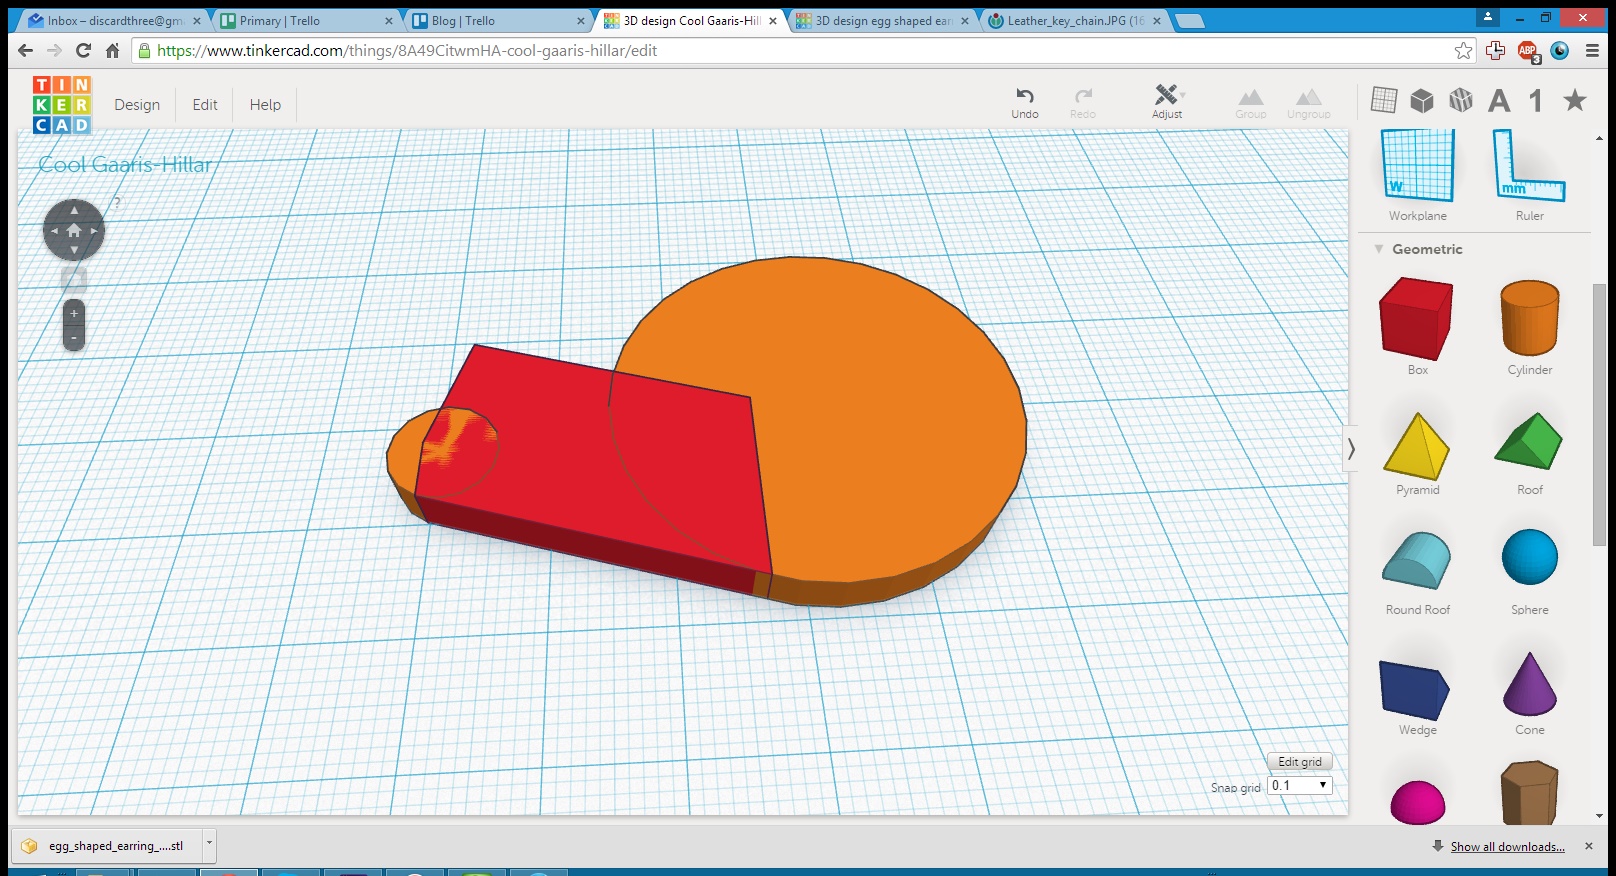
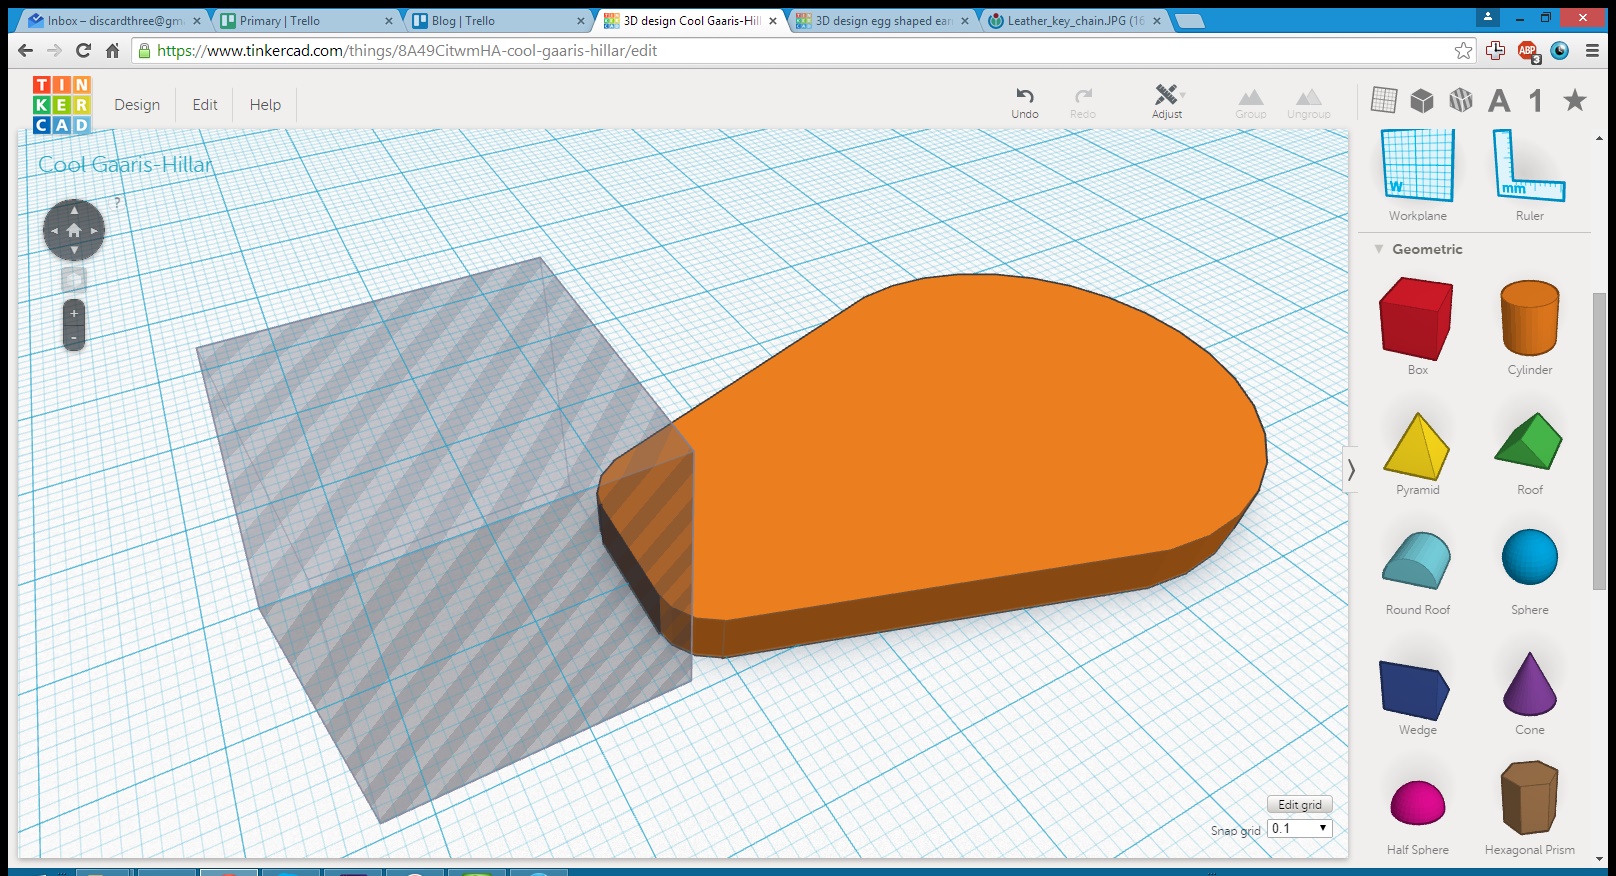
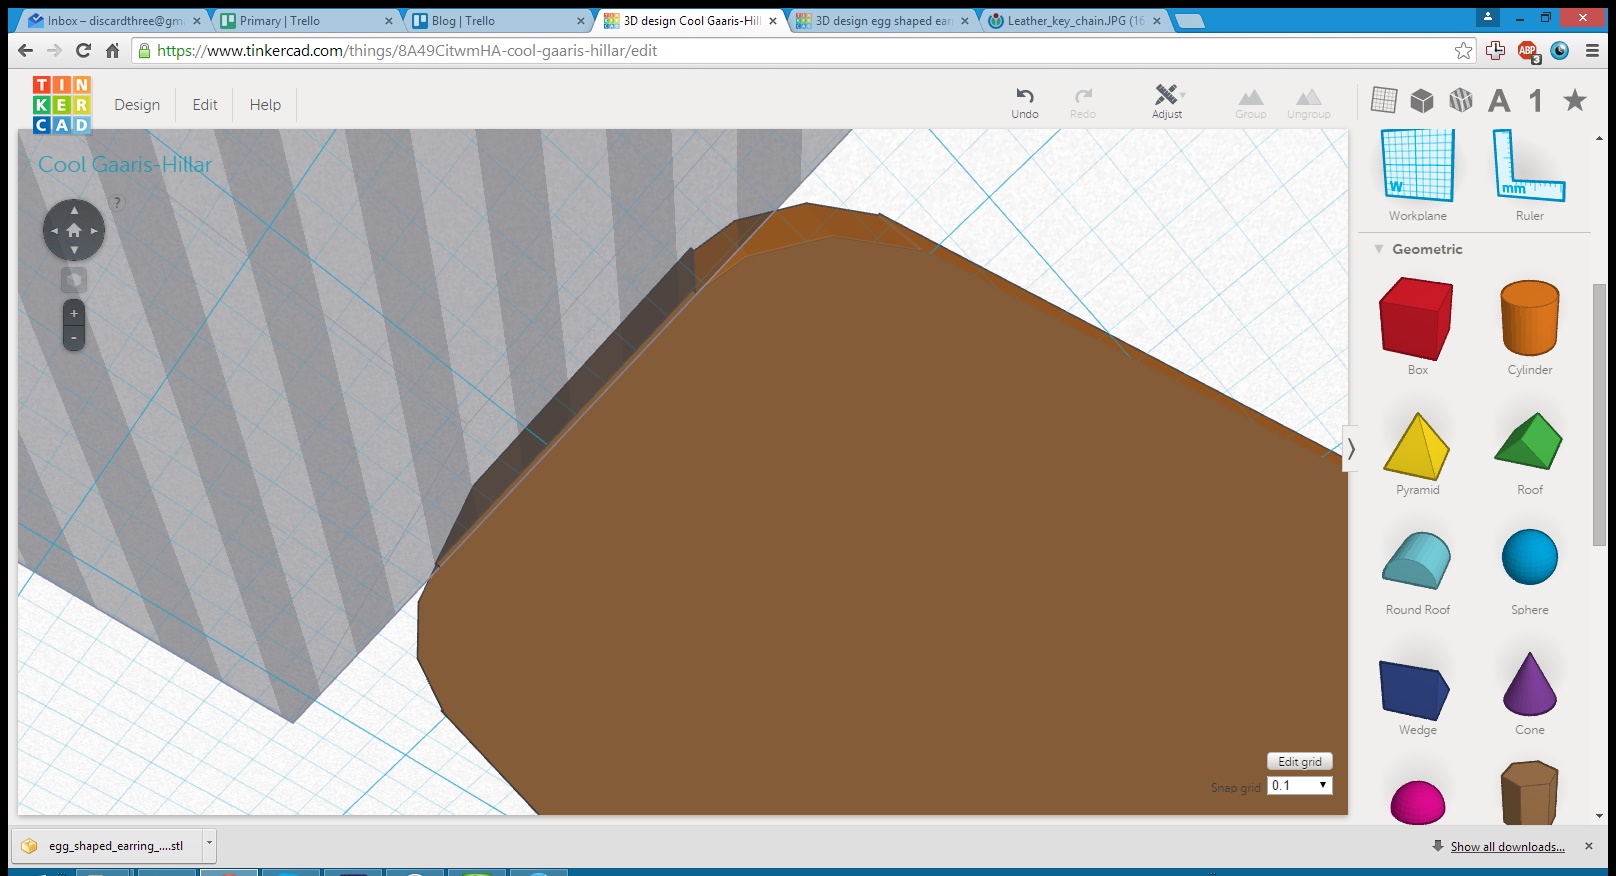
We’re getting there! Now we’ll group together the two halves to make a single object. Then I noticed that there was a tiny bit ‘extra’ on the narrow end, and I decided the easiest fix was to use a cube shaped hole to shave off the edge of the keychain shape.
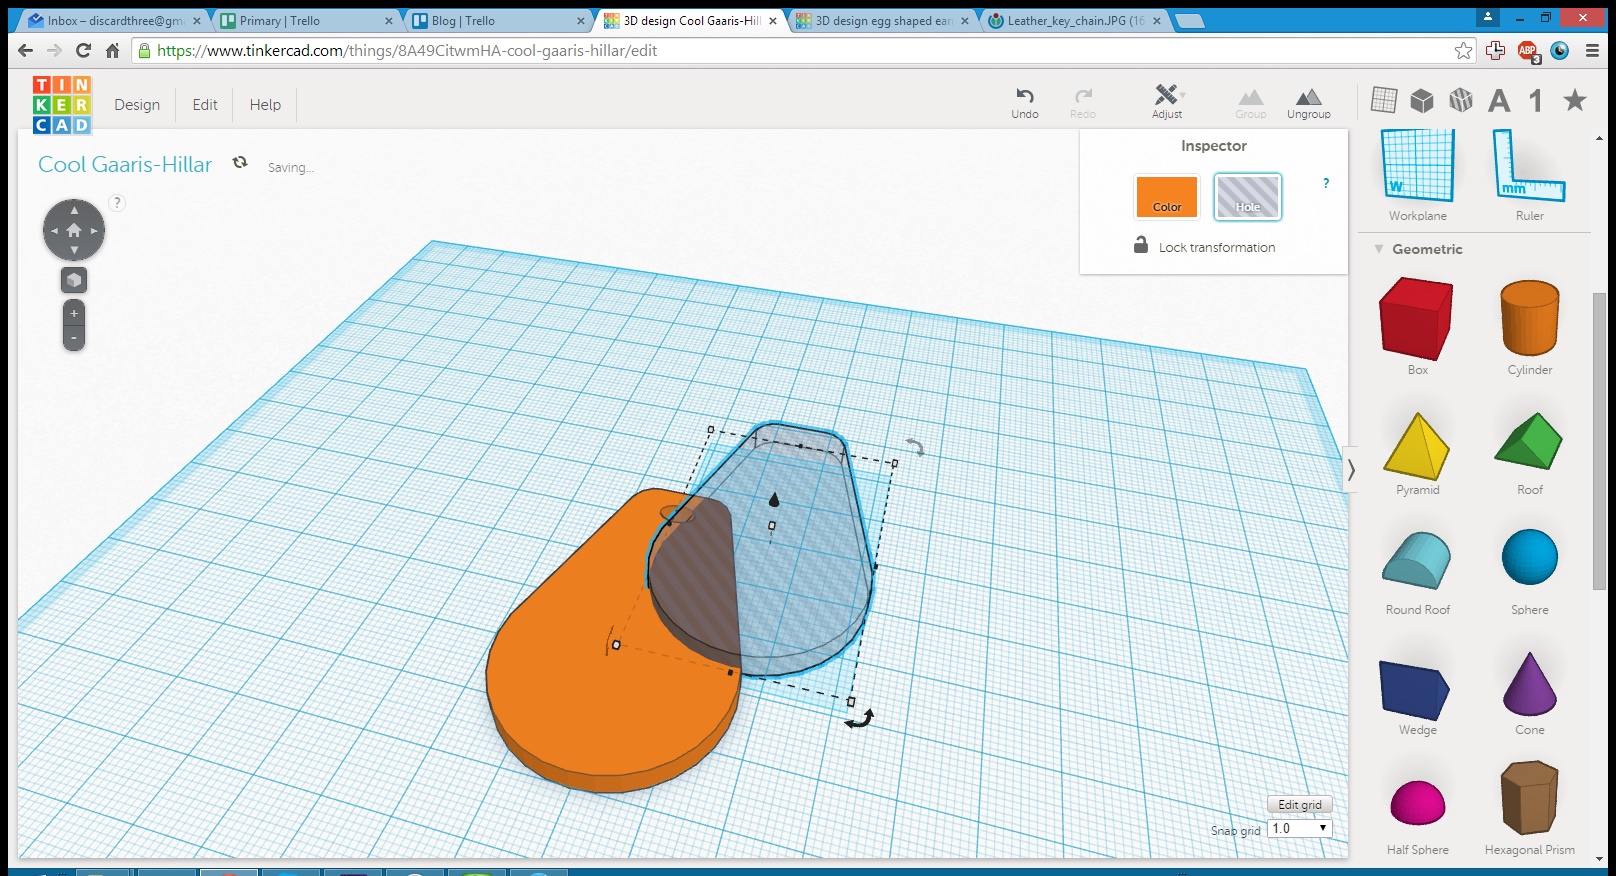
To make the keychain hole I created a 4mmx6mm cylinder, then used Adjust->Align to make sure it’s in the middle of the object, then grouped it with the basic shape to create the hole.
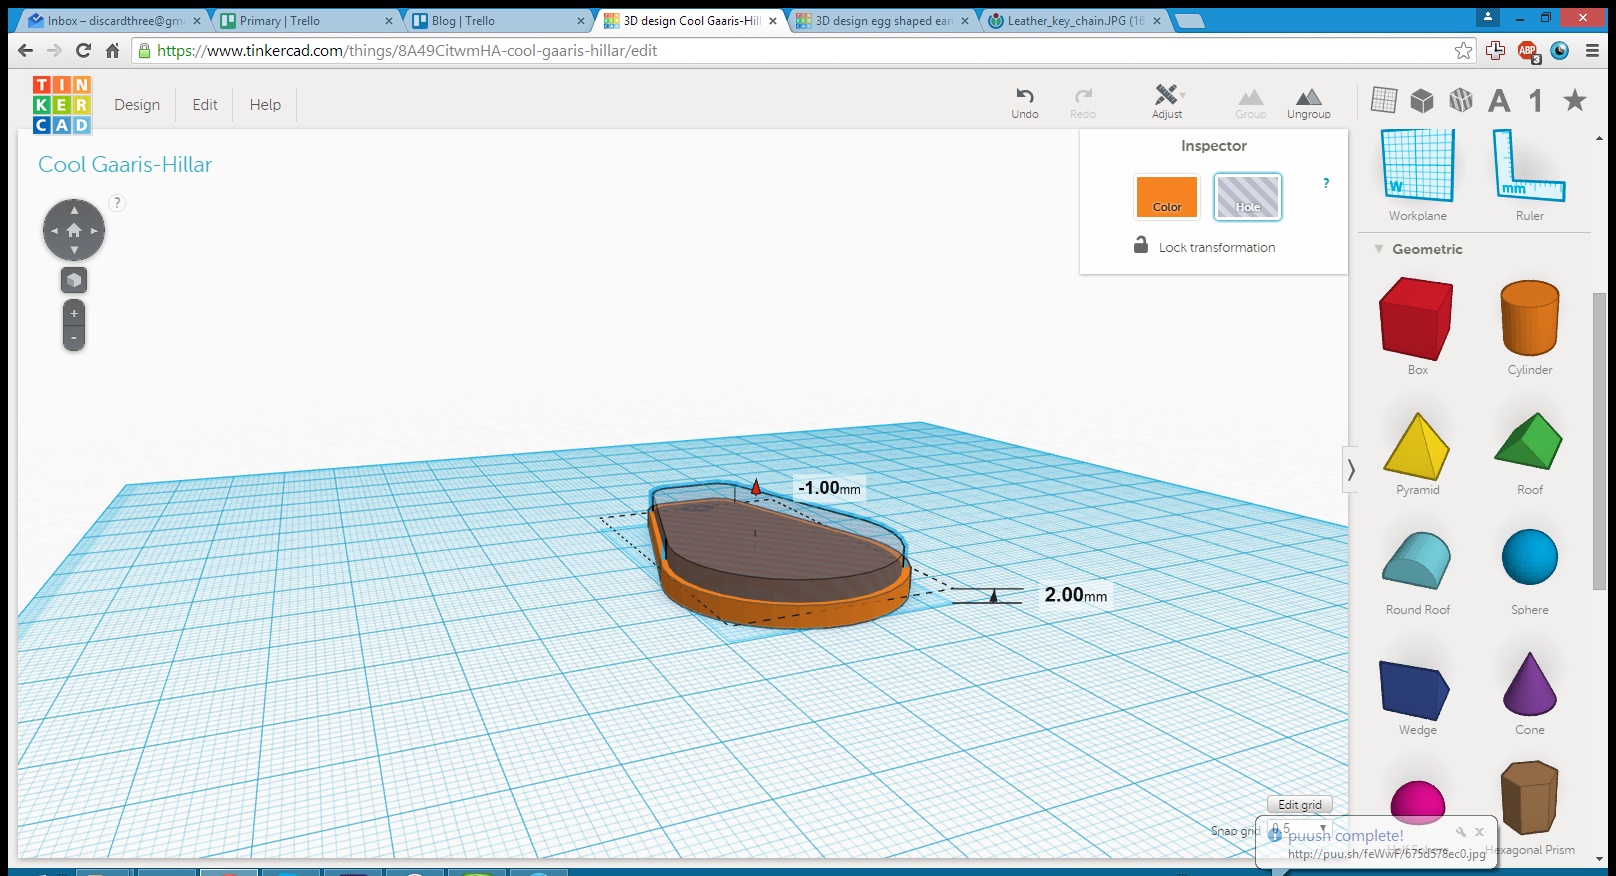
The last thing I’ll do is make a rim for the object so that it’s thicker around the edge. To do this, I made a copy of the shape and made the length and width 2mm shorter each. Then I deleted the hole in it (by ungrouping and deleting it), raised it 3mm (remember the main shape is 4mm tall), changed it to a hole, and then used Adjust->Align to align it in the x and y directions so that it sits centered in the orange shape.
At this point I changed my mind and decided to make everything 1mm shorter, so I changed the height of the orange shape to 3mm tall and lowered the hole shape to begin at 2mm.
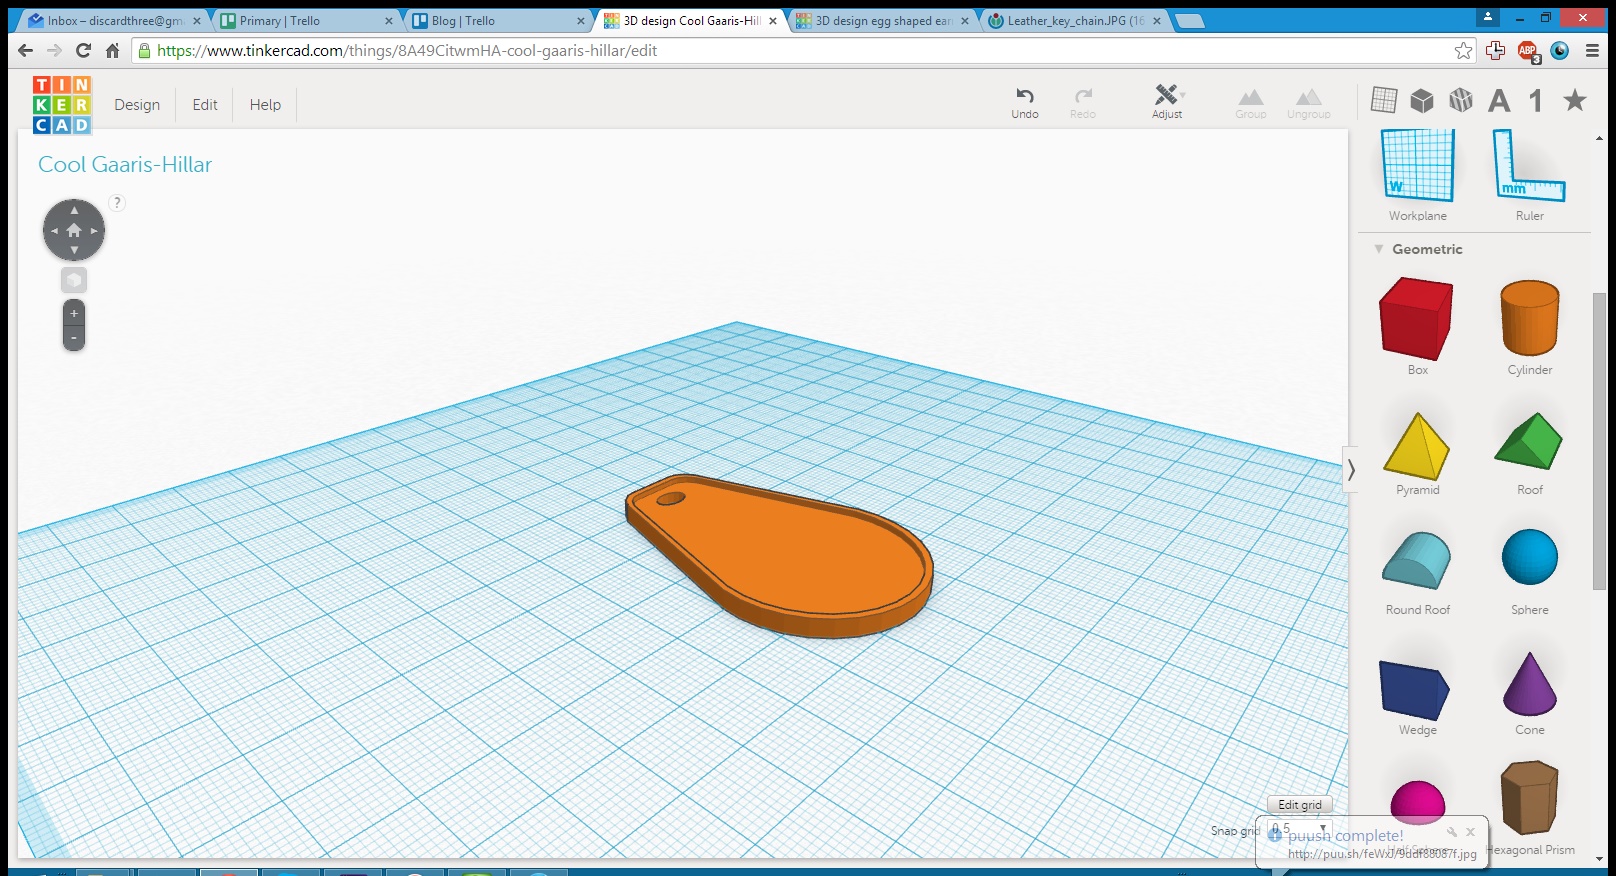
Group it all together and we’re done!
Part 2: adding a drawing to our keychain
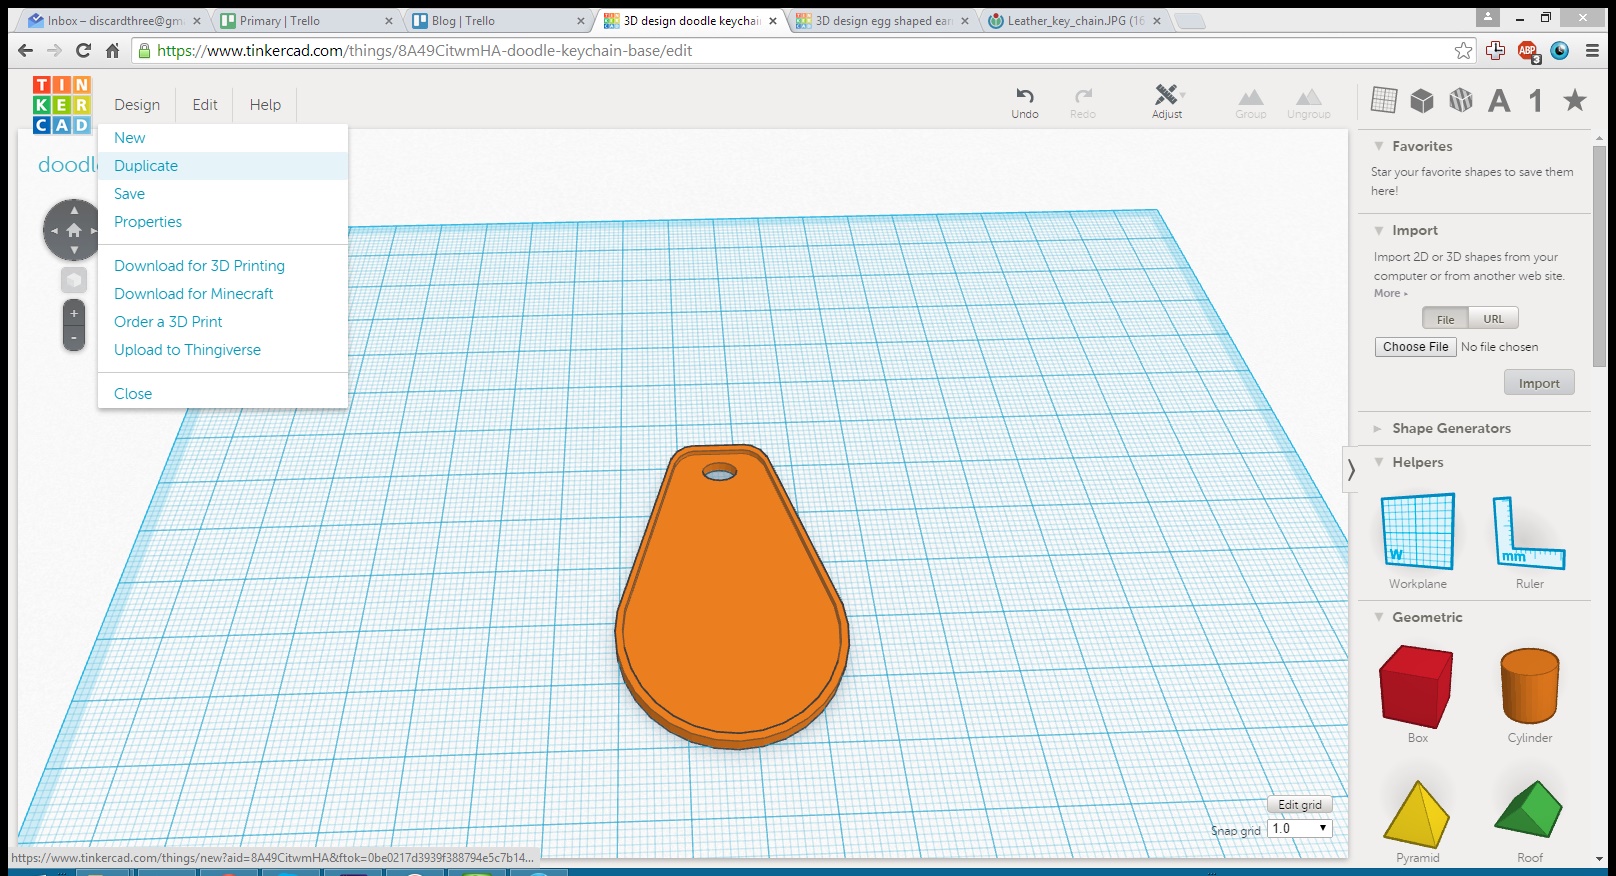
Since TinkerCAD automatically saves after every operation, it’s important to remember to make a copy of a model before we start to build off of this. That way we can return to our basic keychain model and start again if something goes wrong.
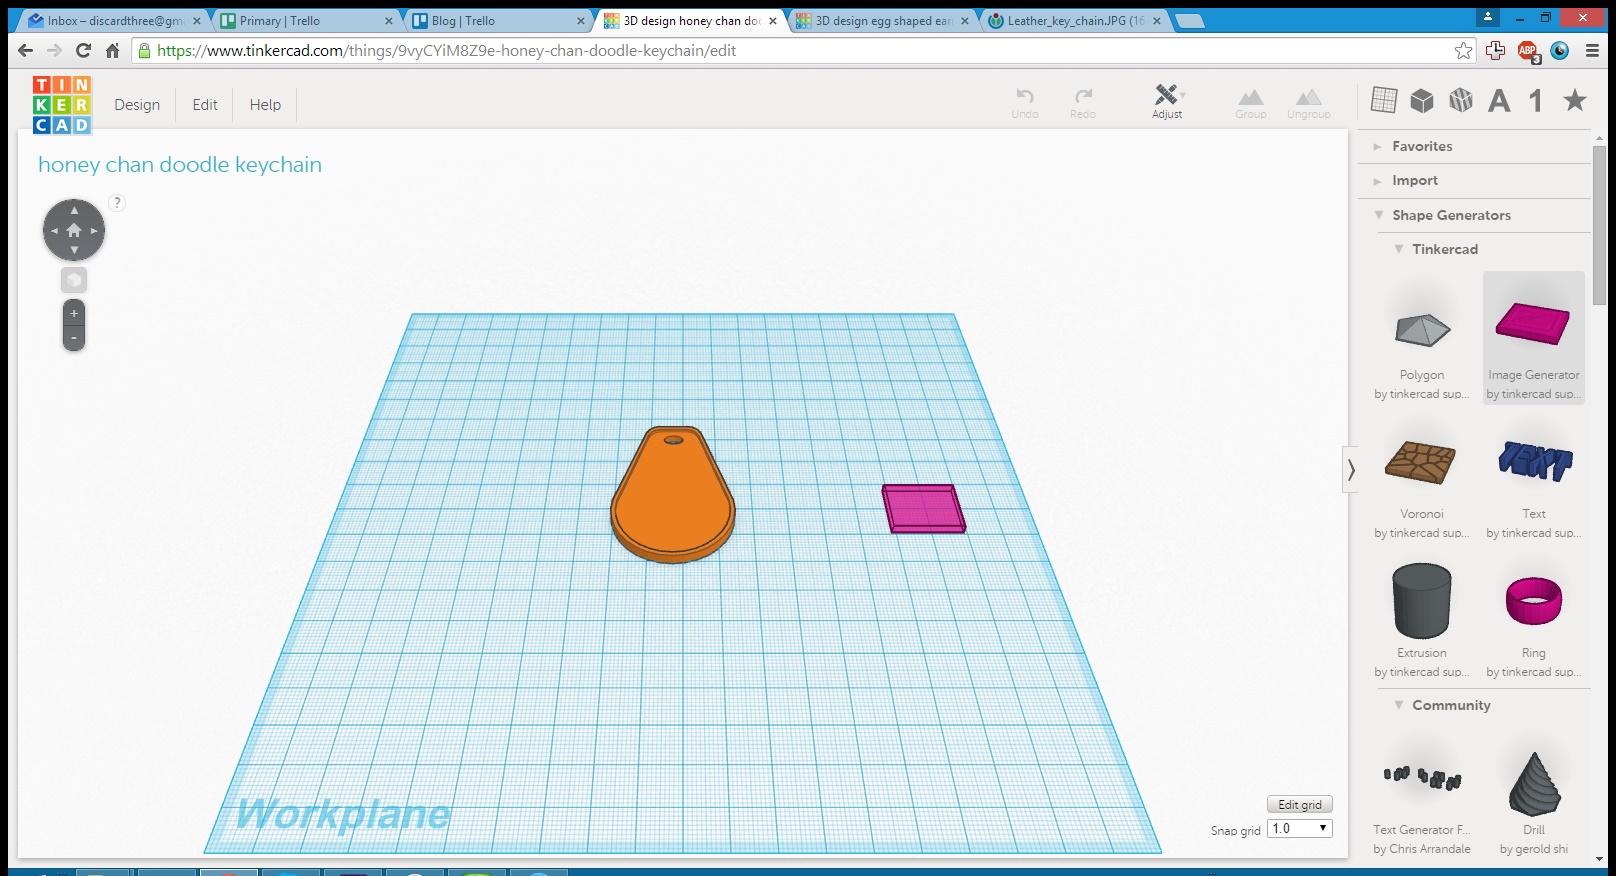
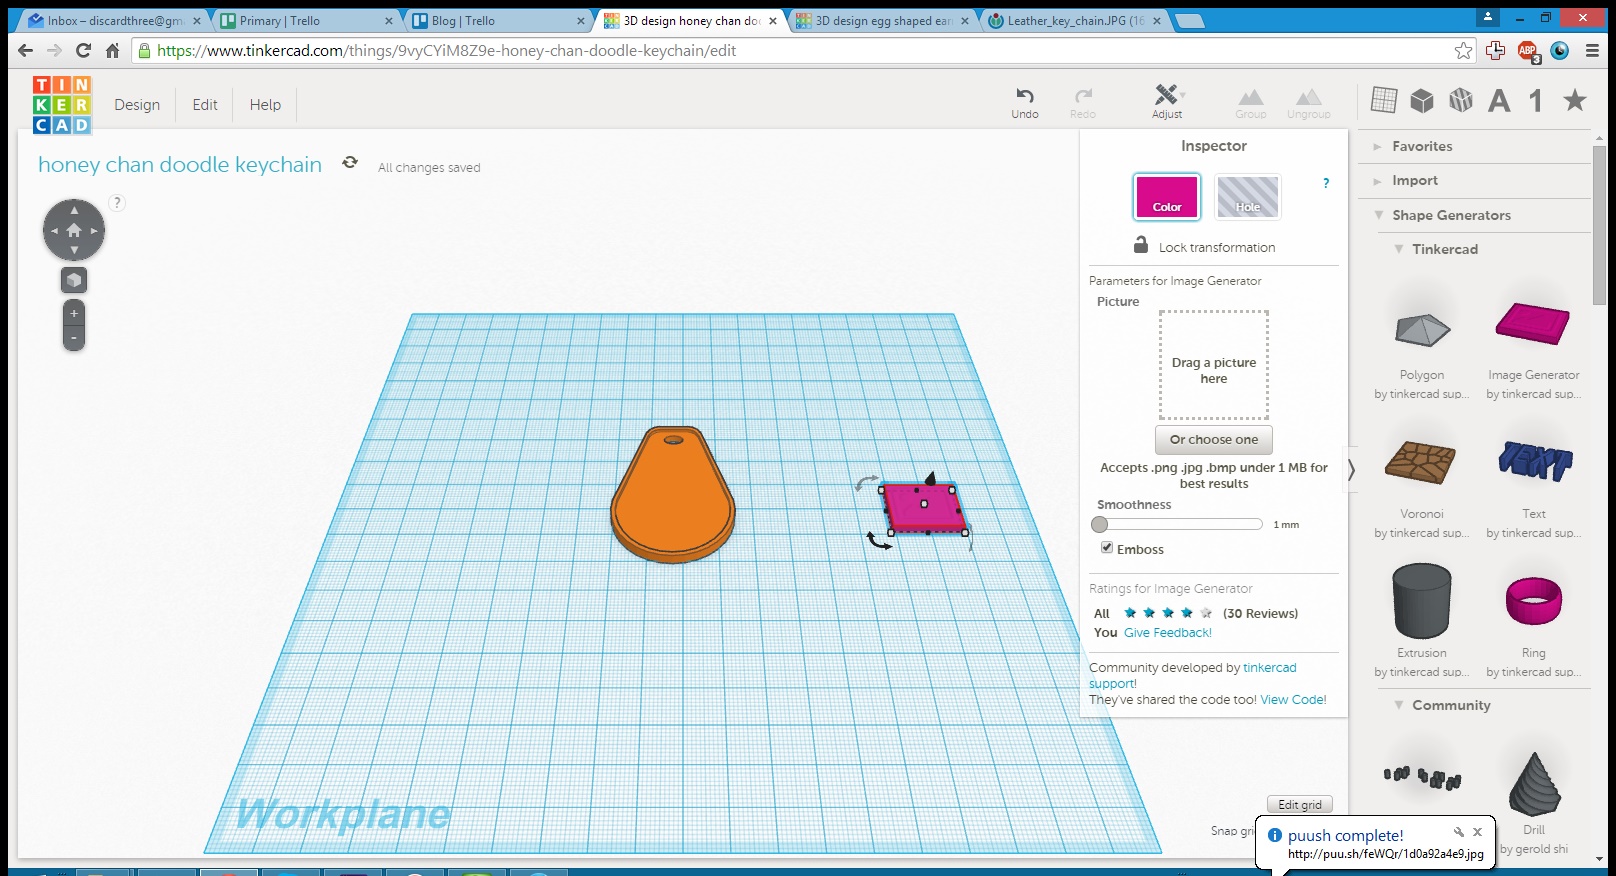
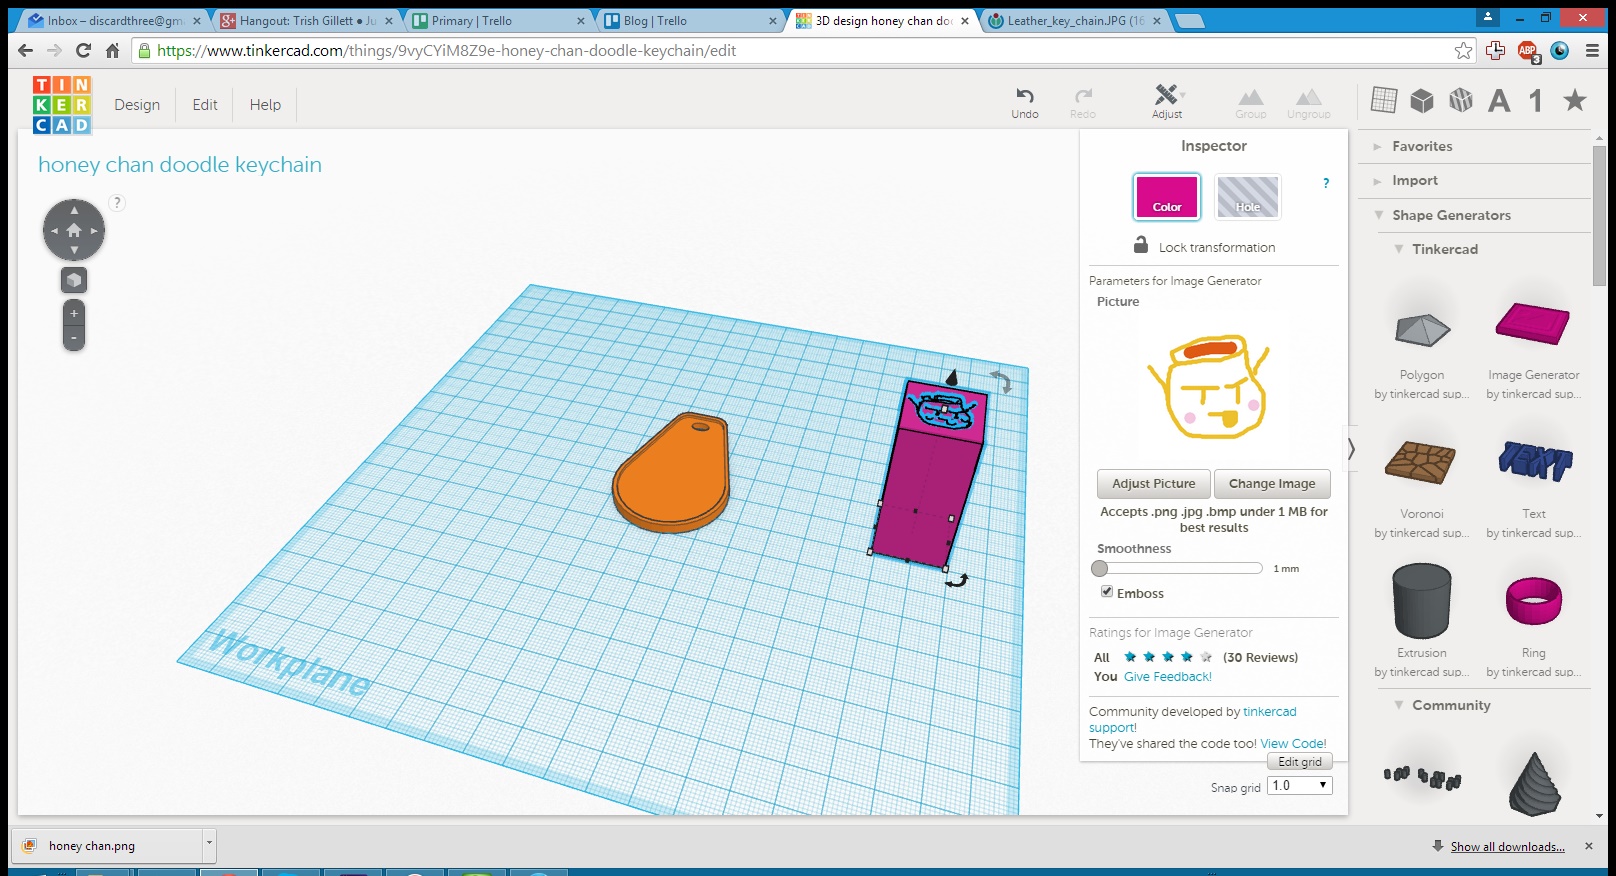
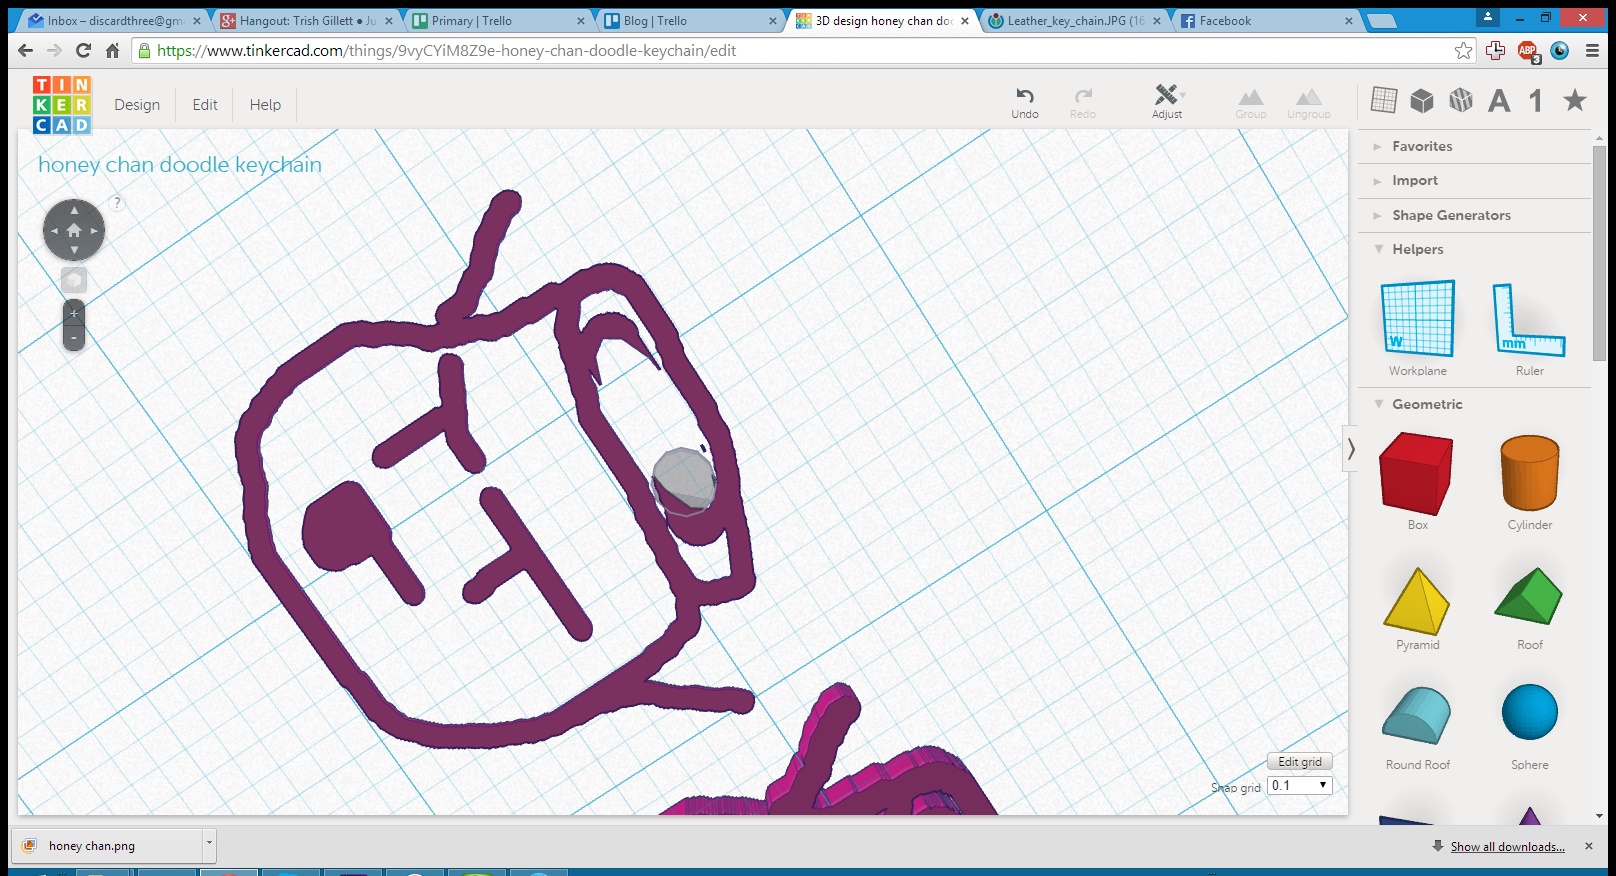
Next, we’ll use the Image Generator found under Shape Generators. Drag it to the workplane, pick your file, and unselect Emboss so that the shape is raised. I’ve stretched it vertically to amplify the shapes.
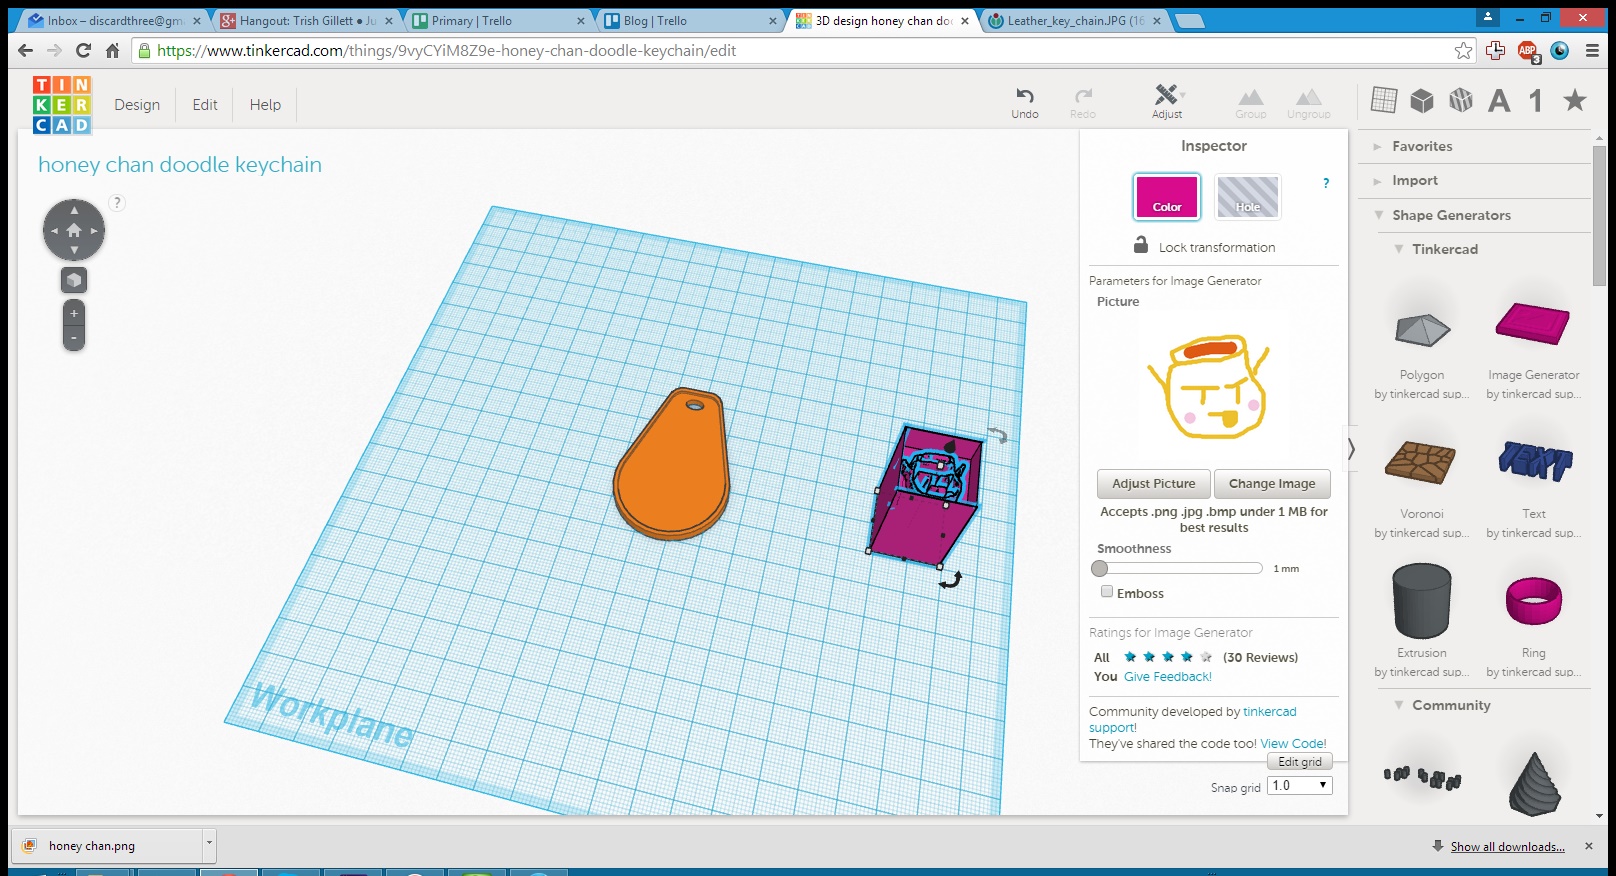
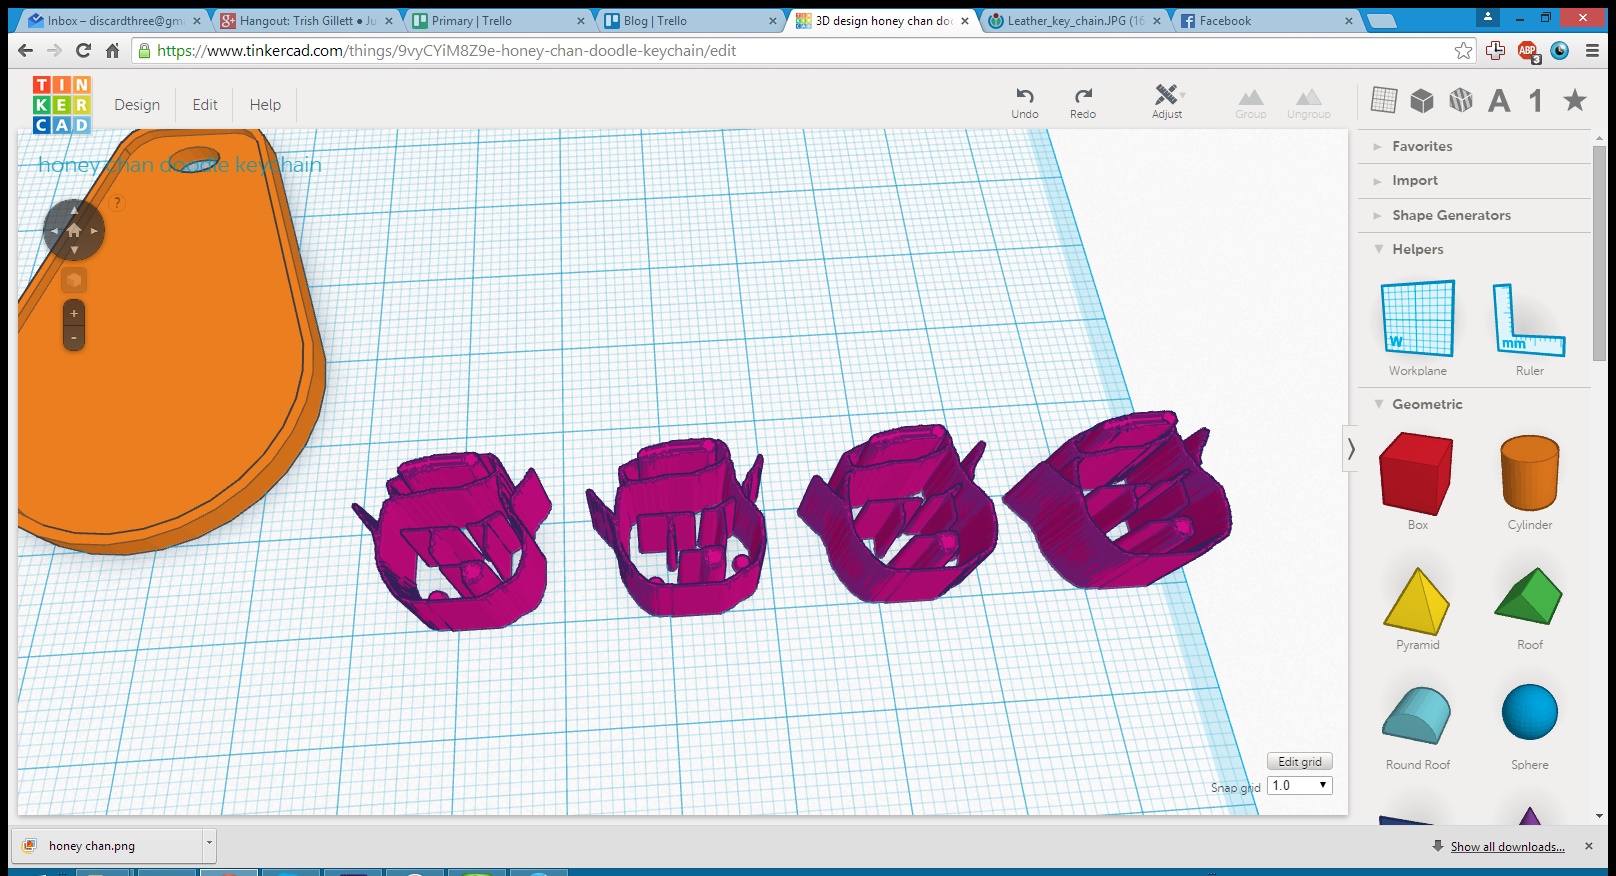
Roughly the bottom two thirds of this shape is solid, and there’s also a wall around the whole shape. To get just the shape outline, we’ll use rectangular prism holes to delete these things.
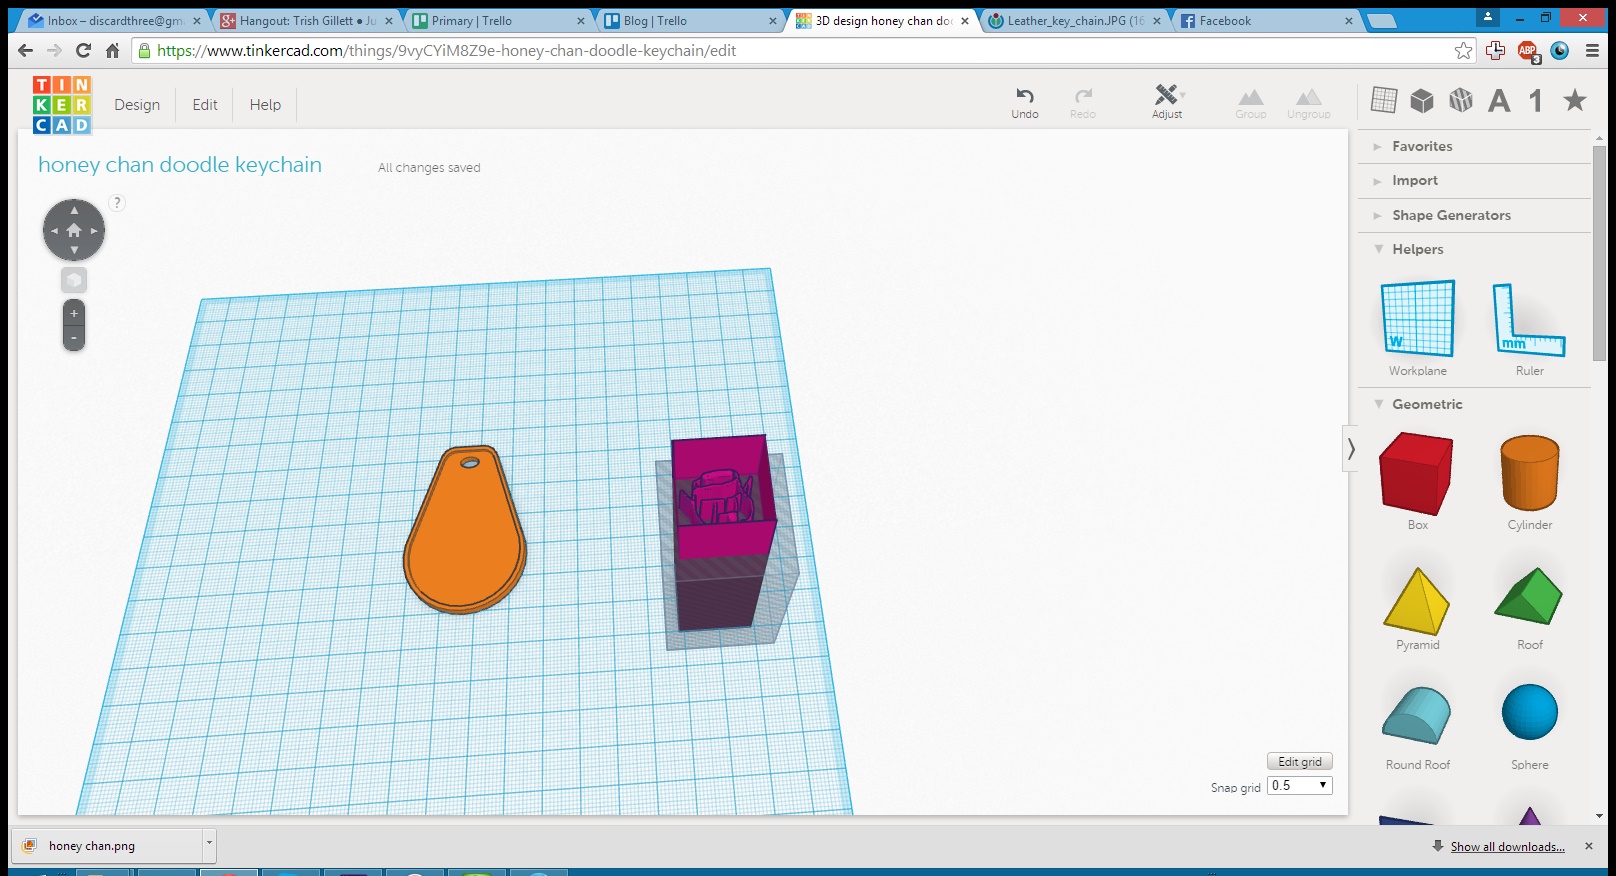
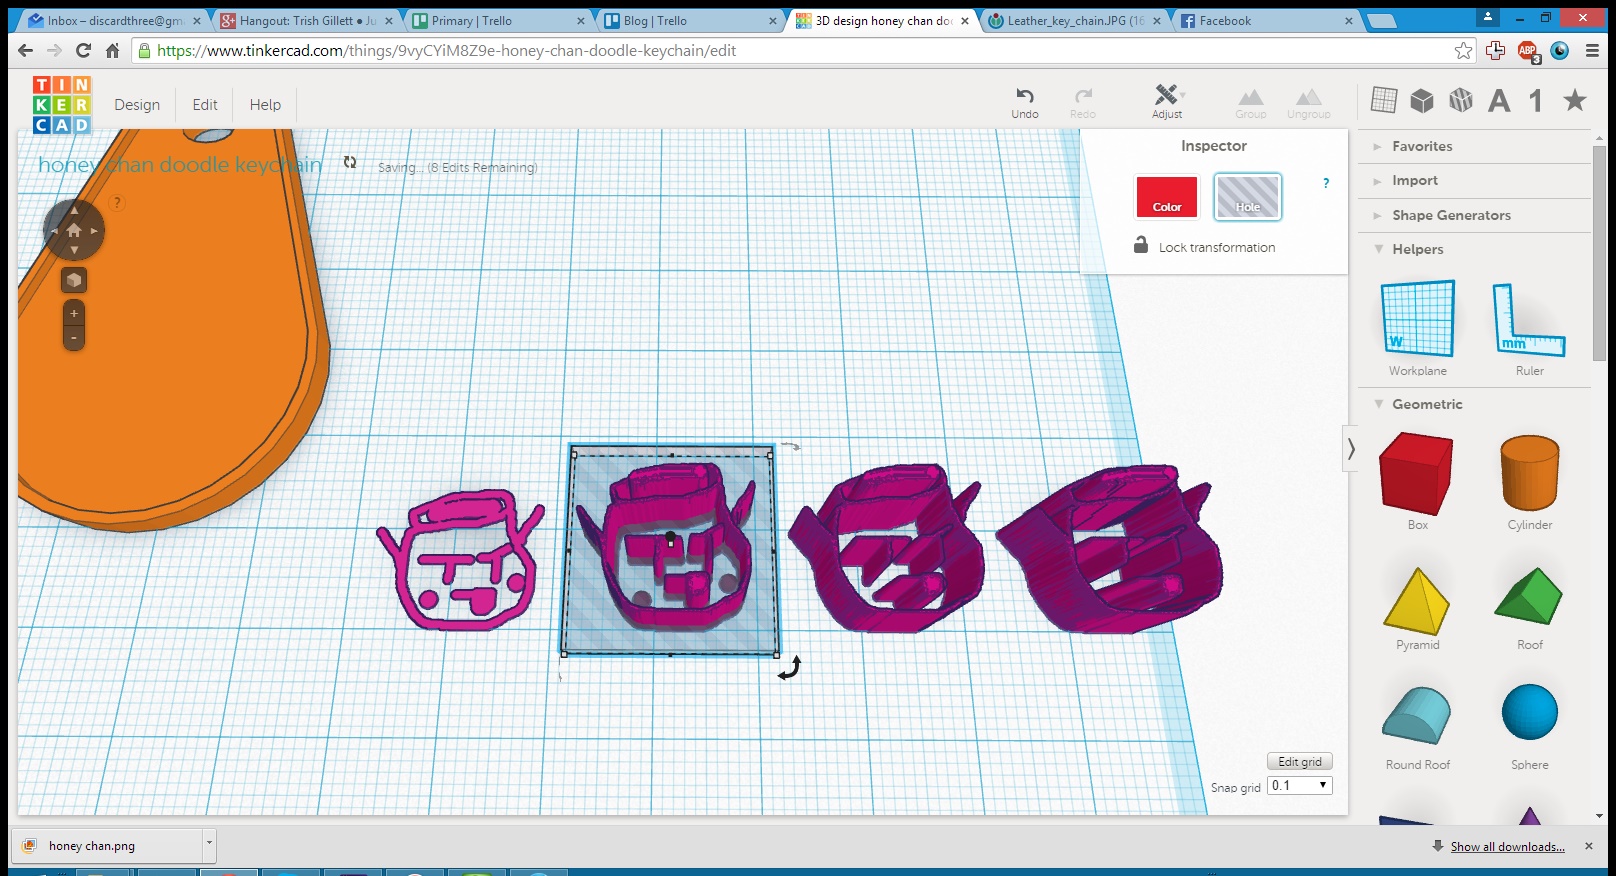
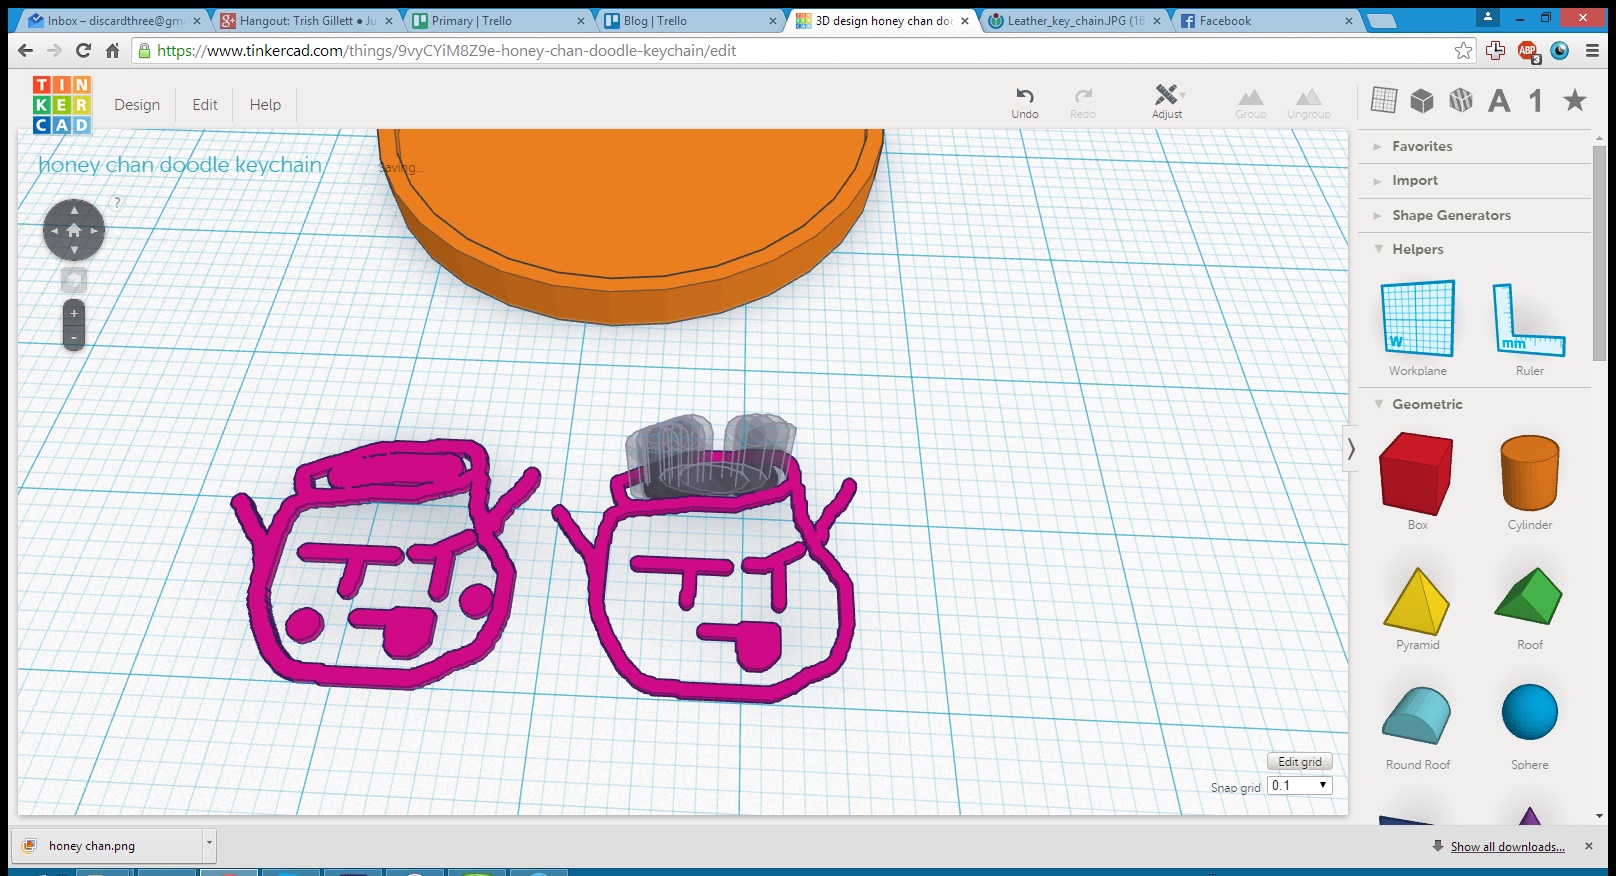
Notice that the height of the pink shape is different in places. This is because different colours are mapped to different heights. We’ll make a few copies of the shape so we can take slices of the shape at different heights. To take a slice, we use hole shapes above and below the height we’re interested in to isolate a slice that’s as thin as possible. For Honey-chan, we find three interesting slices:
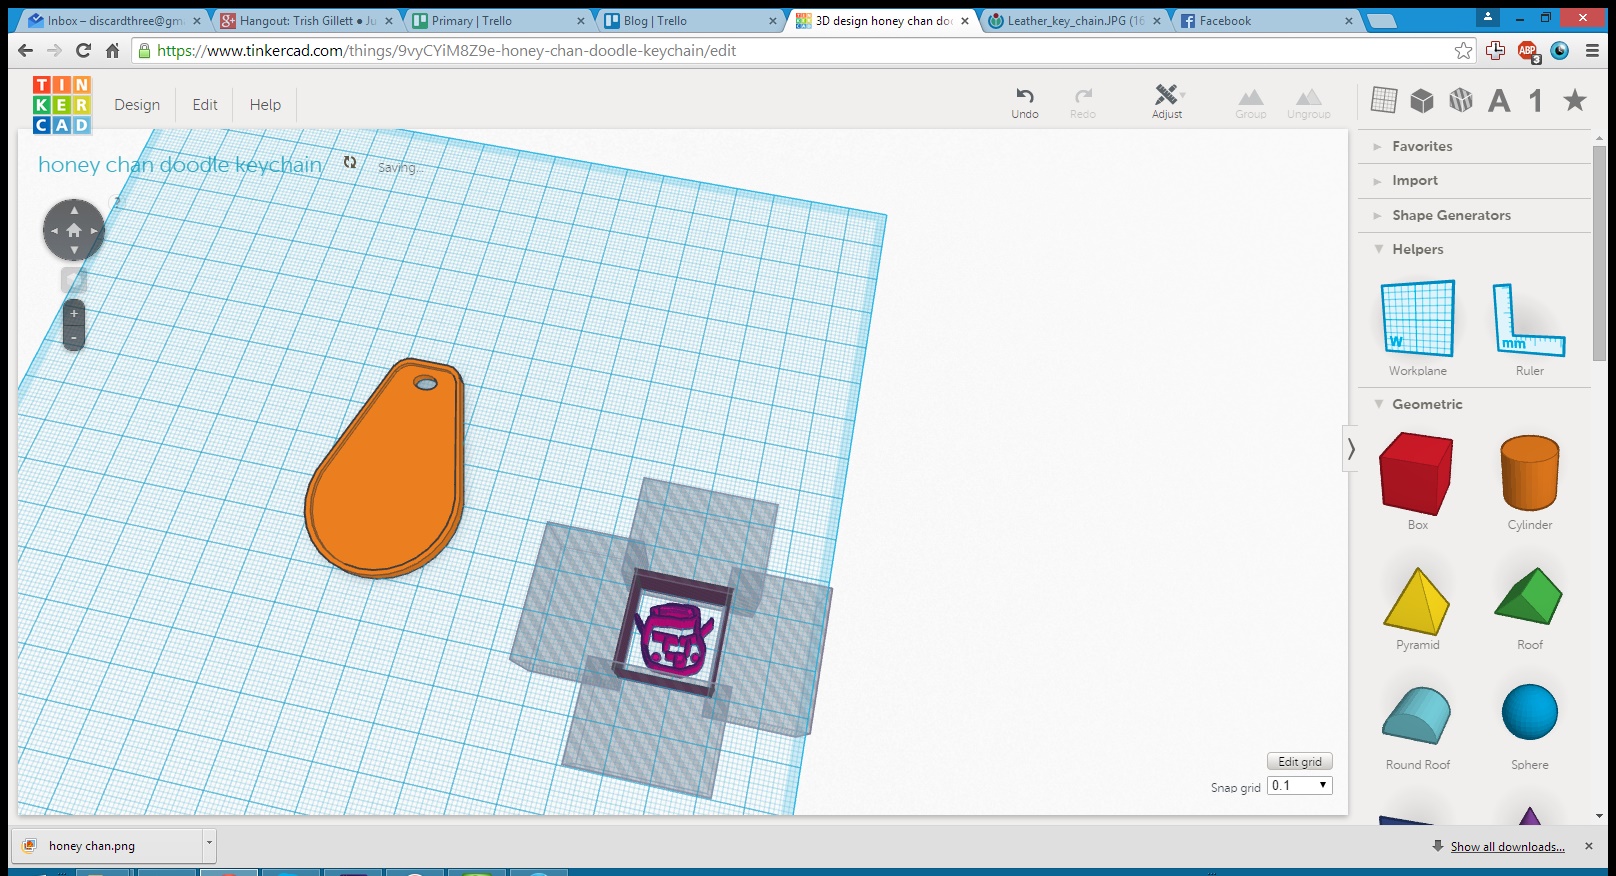
We could layer these on top of each other to get an image with three different heights in places, but in this case I think I actually want the honey in the jar to be a lower level, not higher, so I’ll use a series of small holes to delete this space from the second slice.
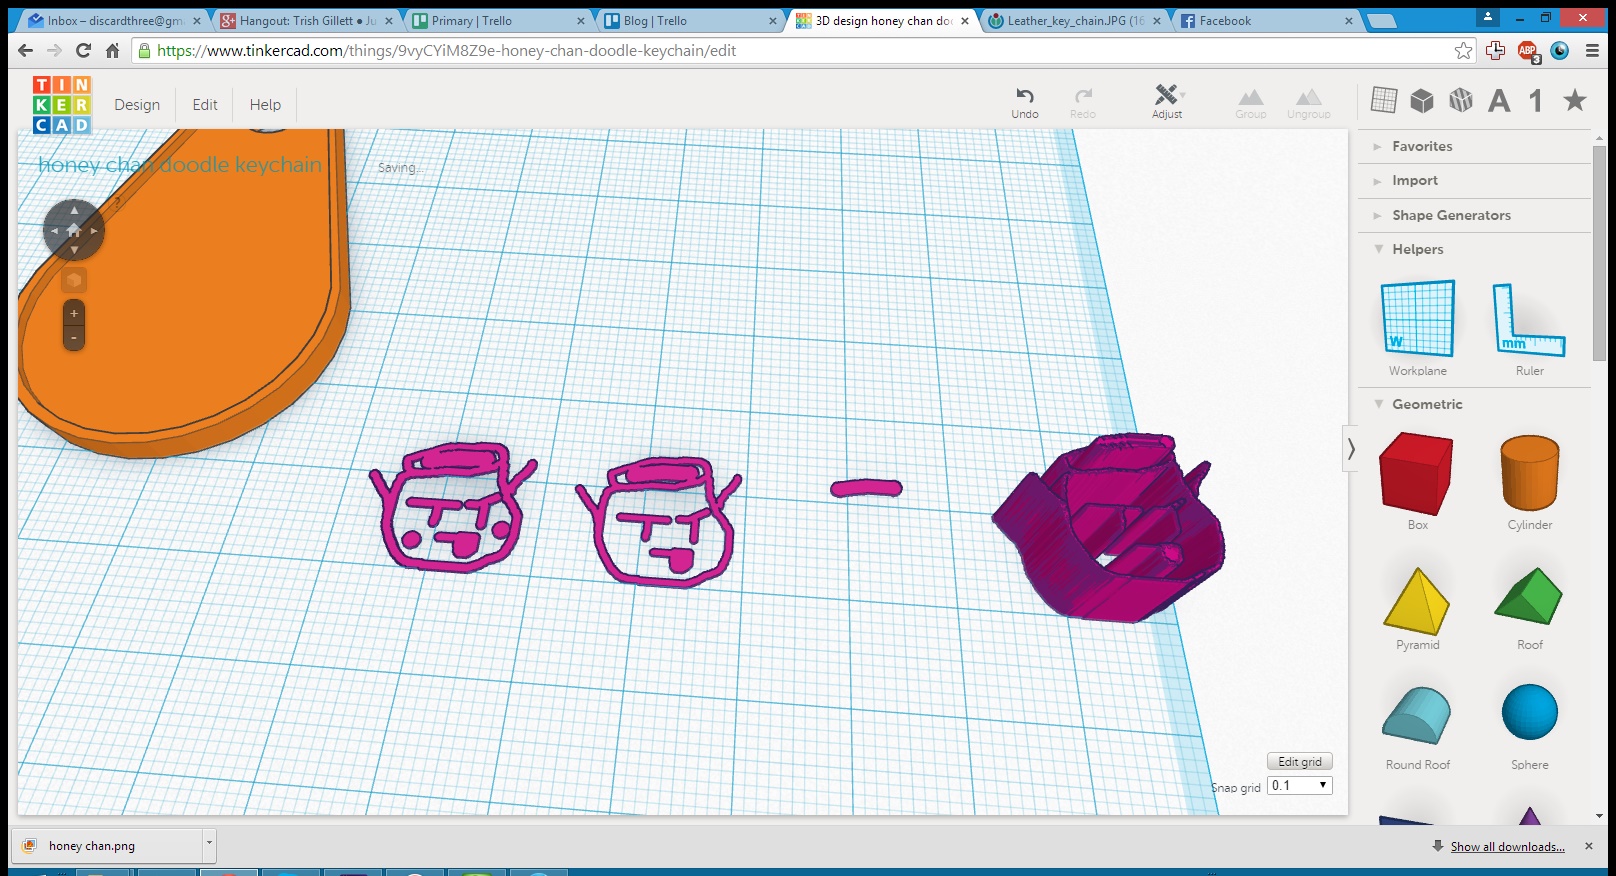
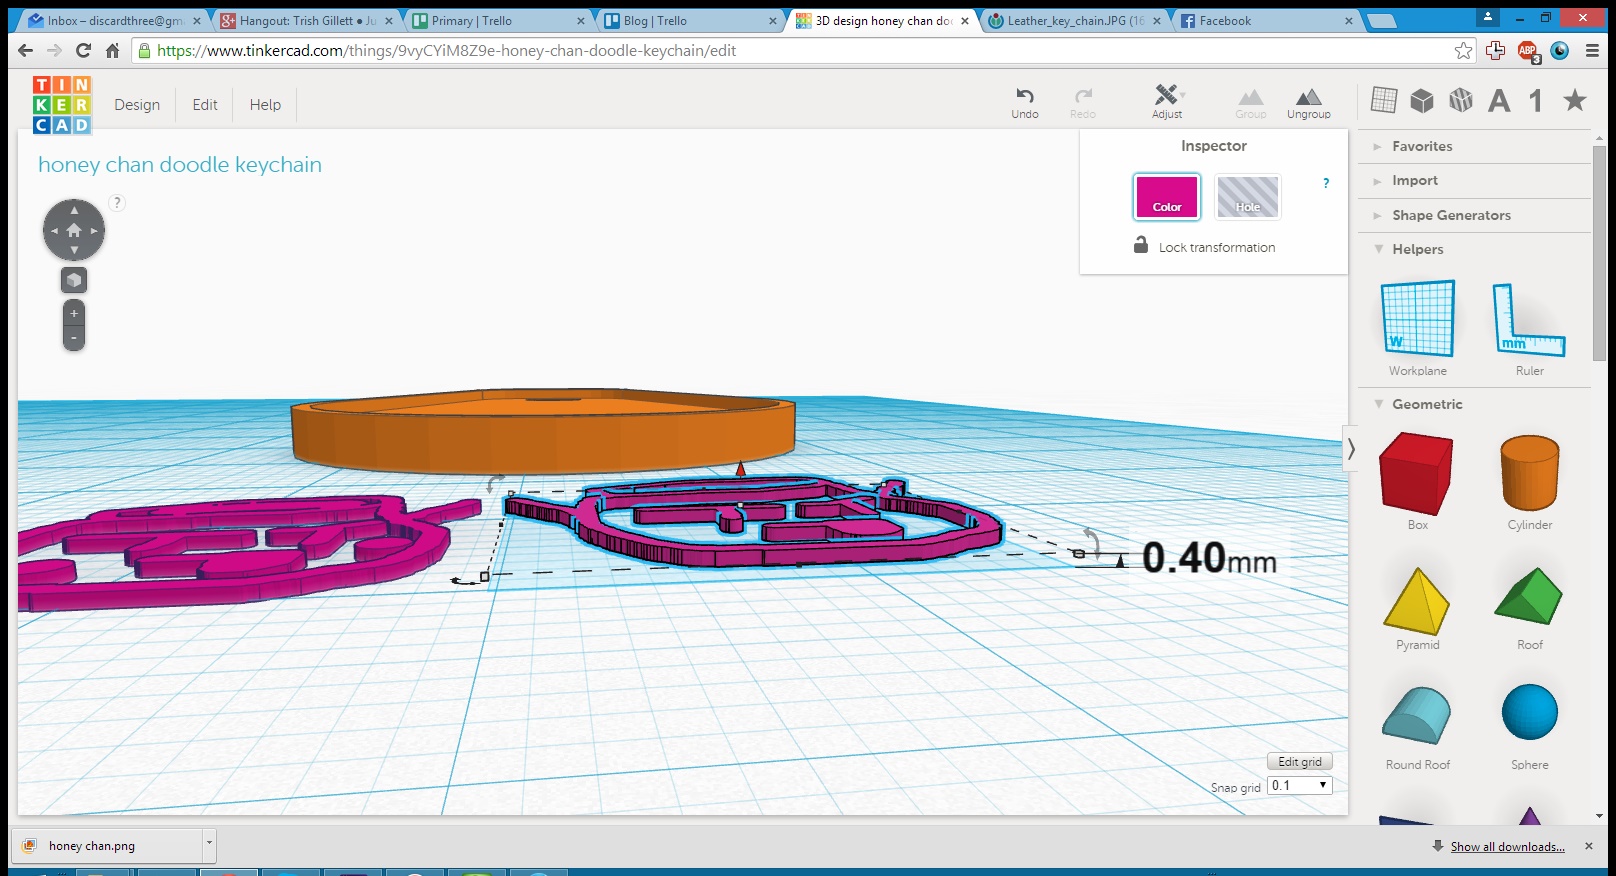
Next we put these slices together by adjusting the height of each to 0.4mm, raising the second one to sit at 0.4mm, and aligning the two slices in the x and y axis.
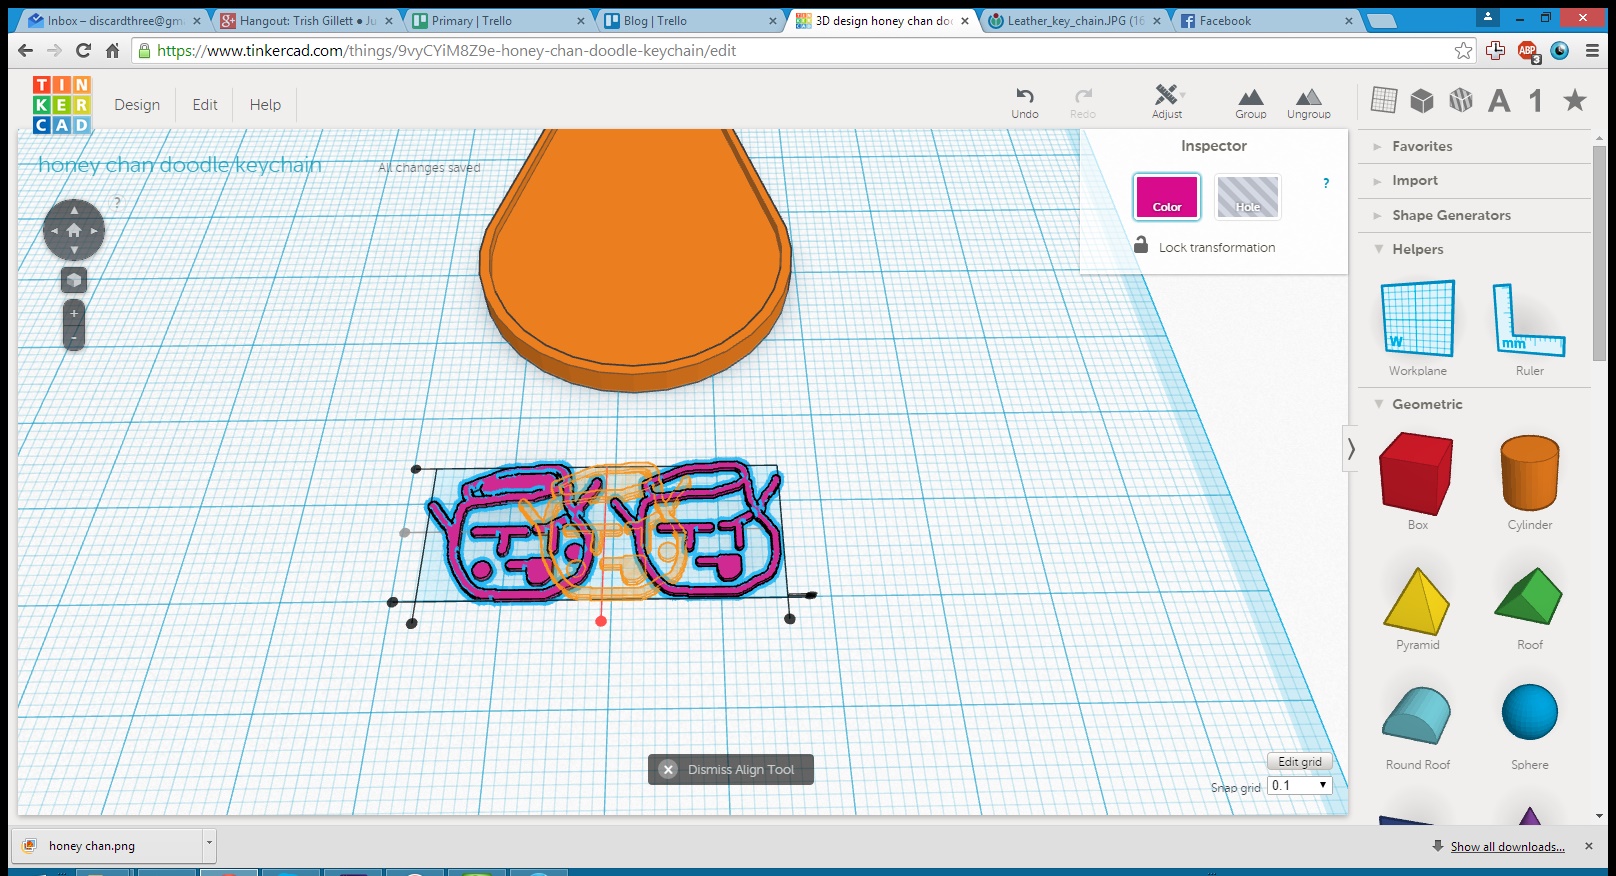
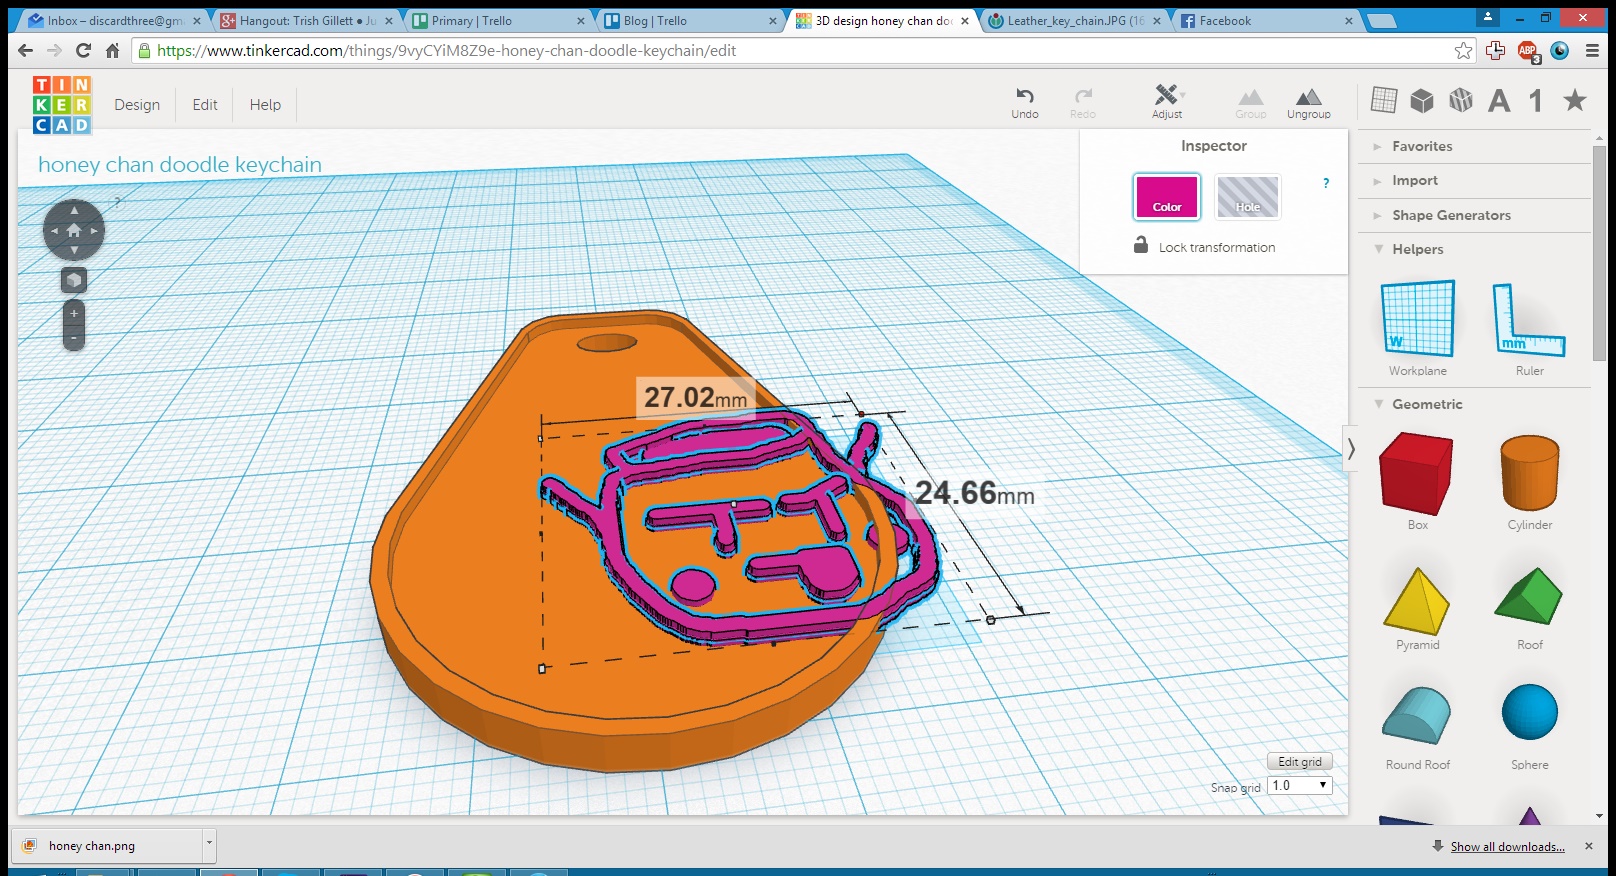
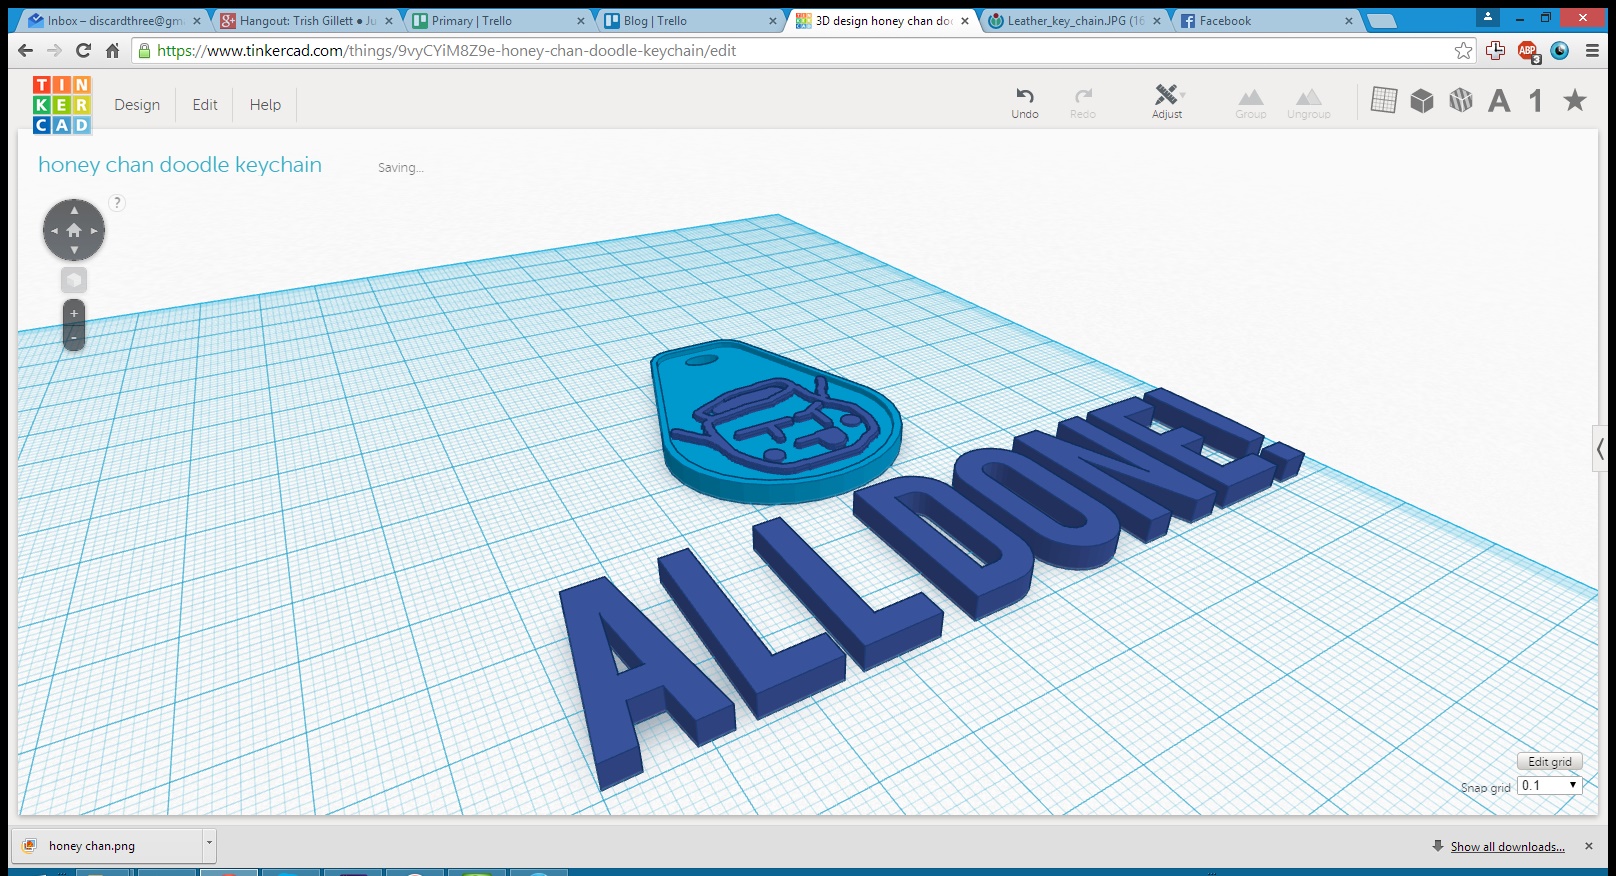
Last steps! Group them together to make one shape, elevate it to sit on top of the depressed area of the keychain, move it into position, and rescale it in the x and y axis to fit nicely. Group everything together and you’re done!
One thought on “3D Modeling with TinkerCAD: making a keychain with a drawing on it”
Great tutorial, thanks for sharing. I stumbled upon this randomly after just publishing my own tutorial. Seems like I had a similar idea (its about creating a bag label). Feel free to take a look at it here: https://i.materialise.com/blog/tinkercad-3d-printing-tutorial and let me know if there is anything that still needs improvement.


Great tutorial, thanks for sharing. I stumbled upon this randomly after just publishing my own tutorial. Seems like I had a similar idea (its about creating a bag label). Feel free to take a look at it here: https://i.materialise.com/blog/tinkercad-3d-printing-tutorial and let me know if there is anything that still needs improvement.