
Materials
Things in the kit:
- An 11L storage tote container with holes cut for net cups. We didn’t talk about this specifically during the workshop but if you look at the bottom of the container you’ll see that it’s LDPE, one of the plastic types that is safe for hydroponics in my opinion.
- 100mL each of Optimum Hydroponix Grow A and Grow B. It’s not a case of using one for grow and one for bloom, it’s a grow formula that just comes in two parts. See the article about nutrients if you want to learn about bloom formulas.
- A liquid-based pH test kit, including testing liquid, vial, and colour chart for reading results.
- 8 net cups. This is more than the system holds, but the extras are so you can start germinating new plants as you’re preparing to ‘retire’ some older ones.
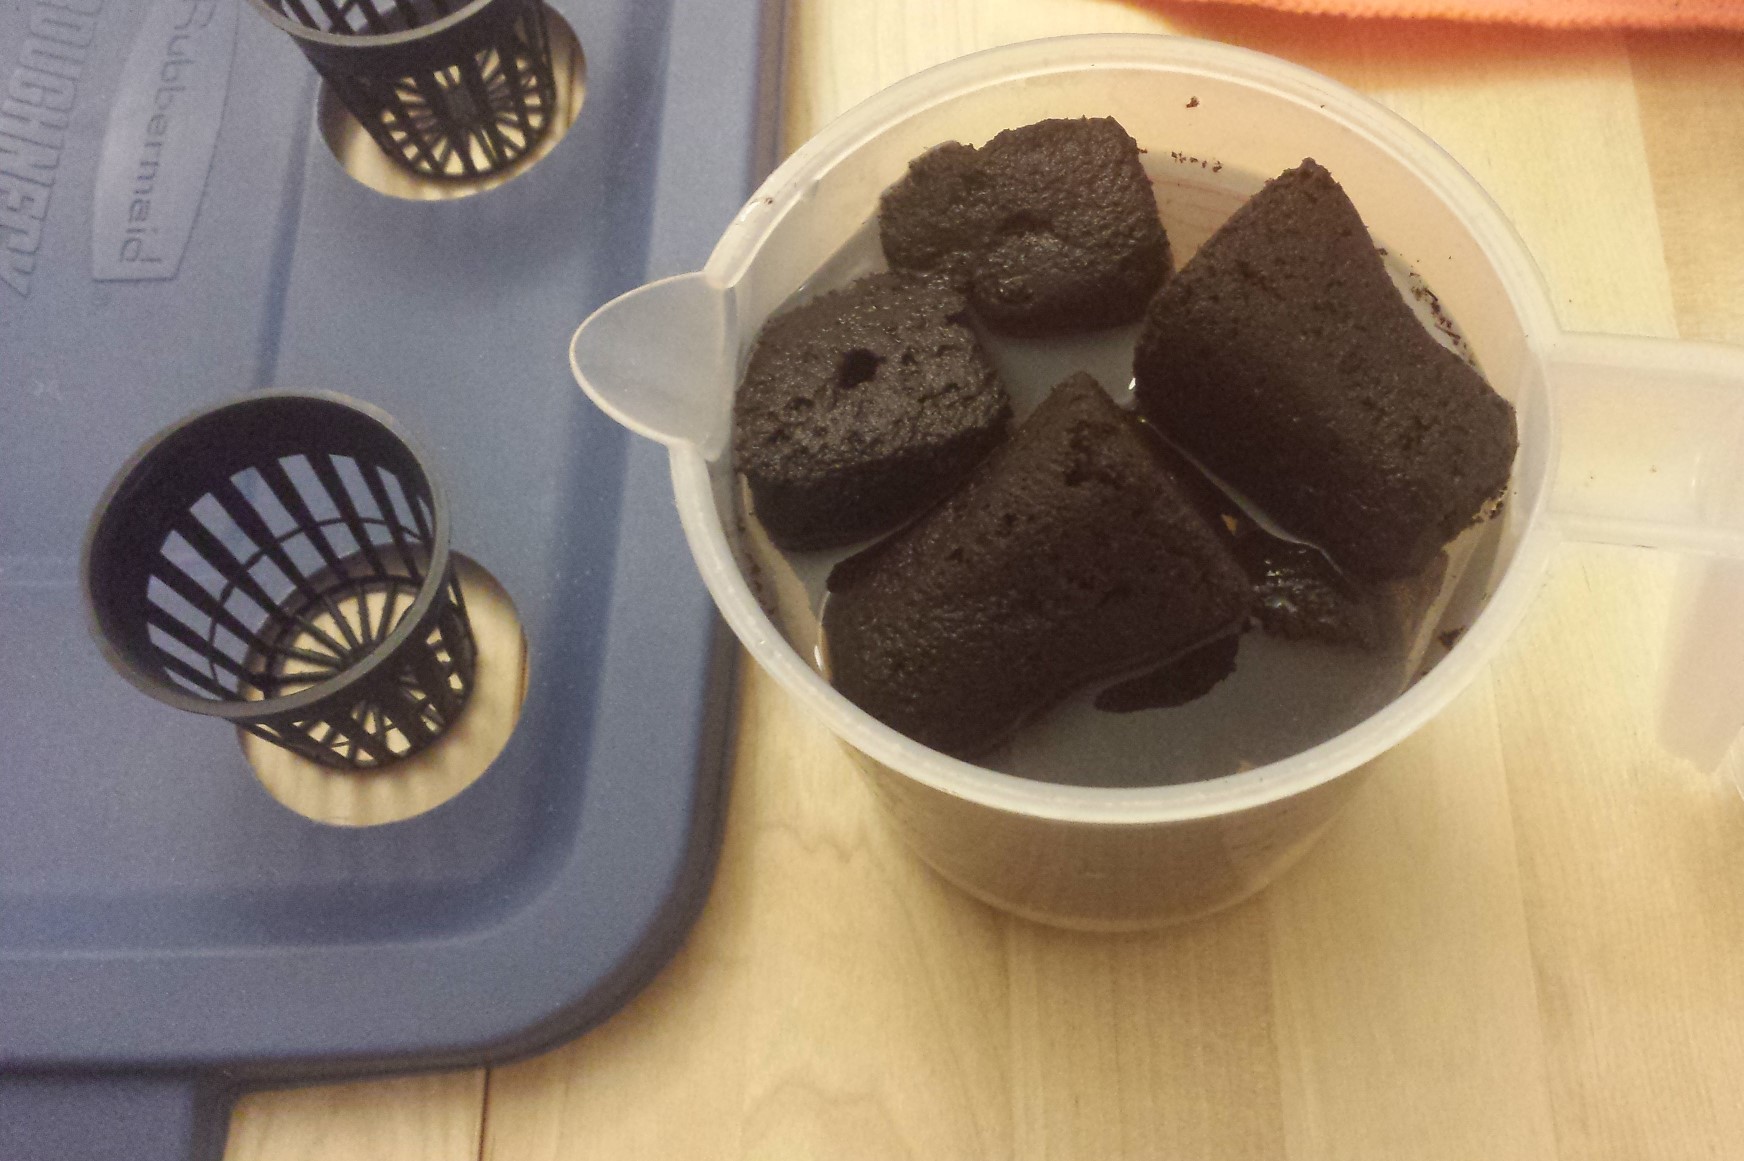
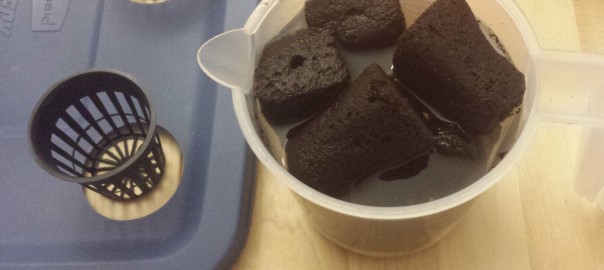
- 8 media cubes (rockwool or Rapid Rooters). The small rockwool cubes are a good size on their own but Rapid Rooters are a little small. If using Rapid Rooters, pad their sides with slices cut from an extra cube in order to make a snug fit. For another media option, you can use larger loose media such as large perlite or coco coir or smaller sized hydroton, or see my post on cloning to see how plastic mesh netting can be used together with smaller grain perlite or coco coir.
Things you’ll need to prepare:
- Something for measuring nutrients to the nearest mL.
- Water for soaking the media cubes, and also for flushing/rinsing your measuring tools between the two nutrients.
- A small amount of food-safe and plant-safe acid for lowering nutrient solution pH. See comments below.
- Seeds of your choice.
A small aside about the nutrient solution:
Here’s some information about Optimum Hydroponix Grow A and B:
This is a 2 part grow formula, meaning that we add both to water to make a nutrient solution which is appropriate for plants that have ‘grow’ needs.
Don’t add A and B directly to each other, always add the nutrients to water one at a time, stirring in between.
Amounts to use per litre of water:
- For non-flowering plants, 1mL each of A and B.
- For the growth phase of non-flowering plants, up to 2mL each of A and B.
- To apply foliarly (spraying on a plant’s leaves), 0.8mL each of A and B.
Extra nutrient solution can be used to feed non-hydroponic plants as well.
Plants which are less than a week or two old can do fine with no nutrients at all.
Warnings on bottle: Keep from freezing. Keep in sealed container and store in cool dry location away from direct sunlight.
They will last a very very long time, but it’s very important to lightproof them. I recommend taking this seriously – not just keeping them in a dark place but finding lightproof bottles (Ex. an old peroxide bottle) or spray painting the bottles with a couple coats of black paint.
Nutrient analysis:
The primary nutrients or Optimum Hydroponix’s Grow A and B are listed below. Together they also provide the necessary trace amounts of various micronutrients, but they appear in small enough quantities that they can be kept secret.
| Grow A guaranteed minimum analysis | Grow B guaranteed minimum analysis | |||
| Total Nitrogen (N) | 5.0% | Total Nitrogen | 1.0% | |
| Nitrate Nitrogen | 4.5% | Nitrate Nitrogen | 1.0% | |
| Ammoniacal Nitrogen | 0.5% | Available Phosphoric acid (P2O5) | 5.0% | |
| Soluble Potash (K2O) | 2.0% | Soluble Potash (K2O) | 8.0% | |
| Calcium (Ca) | 3.8% | Magnesium (Mg) | 0.8% | |
| Molybdenum (Mo) | 0.002% | |||
A small aside about acids:
You will need to adjust pH either one or two times in this tutorial, depending on your media: once when pre-soaking rockwool (if applicable), then again when pH adjusting the nutrient solution that will go in the container. ‘pH down’ refers to the acid you’ll use to lower pH. My personal ranking from favourite to least favourite pH downs is: phosphoric acid, lemon juice, white vinegar. I really recommend phosphoric acid, if you ever go to a hydroponics store it’s worth spending the $7 to get a small supply of phosphoric acid or another proper pH down. A bottle that size will go a long way. A pH down for hydroponics should be chosen for its ability to keep pH steady over time, and it should also be chosen by the chemicals it leaves behind when it breaks down. For example, nitric acid and phosphoric acid are two popular pH downs because they consist of a basic plant nutrient (nitrogen or phosphorous, respectively) plus hydrogen and oxygen.
Getting started
There are a lot of variations on the following procedure, but let’s talk about one basic way first and then cover variations after.
- If using rockwool, pH adjust some water to 5.5 and soak the cubes in it for 20 minutes. If using Rapid Rooters, do nothing if they are very new and moist, or rehydrate them only as needed to make them moist and squishy again.

- Put a media cube in the centre of each net cup and check how well it fills the cup. Because we’re constructing a Kratky system, we want humidity to be trapped inside the container. If there are big gaps between the cube and the sides of the net cup where air can enter the reservoir through the net cup holes, cut some ‘slices’ from an extra media cube and wedge them in to fill the gap. Even if it’s not perfect, it will be a huge improvement.
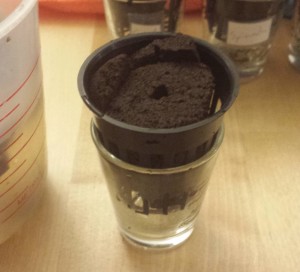
Wedging slices of a spare Rapid Rooter cube on two sides was good enough. - Put at least one seed in each media cube.
- Prep the container: Put 7L of water in the container (tapwater is good, though if you have a rain barrel you can use that too), then put the lid on the container with an empty net cup in one of the corner holes. Add water if necessary (keeping track of the total amount) until the water level is maybe 3-5mm higher than the bottom of the net cup. Remove the container lid again.
- For each litre of water that is in the container, add 1mL of Grow A. Stir the liquid in the container. If you’re using the same measuring tool for both A and B, rinse/flush it. For each litre of water in the container, add 1mL of Grow B. Stir again.
- pH test the nutrient solution in the container. Assuming it’s too high, you’ll need to add a small amount of your acid of choice, stir well (always stir before testing!) and test, repeating until the solution reaches a range of about 5.5-6.2. For the test kit used at the workshop, values of 4, 5, 6 all look similar so for now I suggest aiming for juuuust a little above 6.0. As you get used to your acid and your tester you’ll get some intuition for how much acid it takes to change the pH from 6.0 to 5.5, and then you can try to achieve values which are not on your pH tester’s chart if you like. By the way, after you’ve tested a water sample you should dump that water, don’t add it back to the nutrient solution.
- Put the lid back on the container and put the net cups (the ones with media and seeds) into the system. Cover any unused holes to so that light and air aren’t getting in in large quantities. Put the system somewhere where it will get as much light as possible.
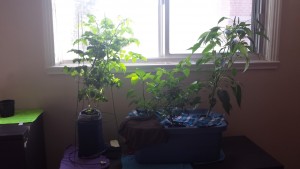
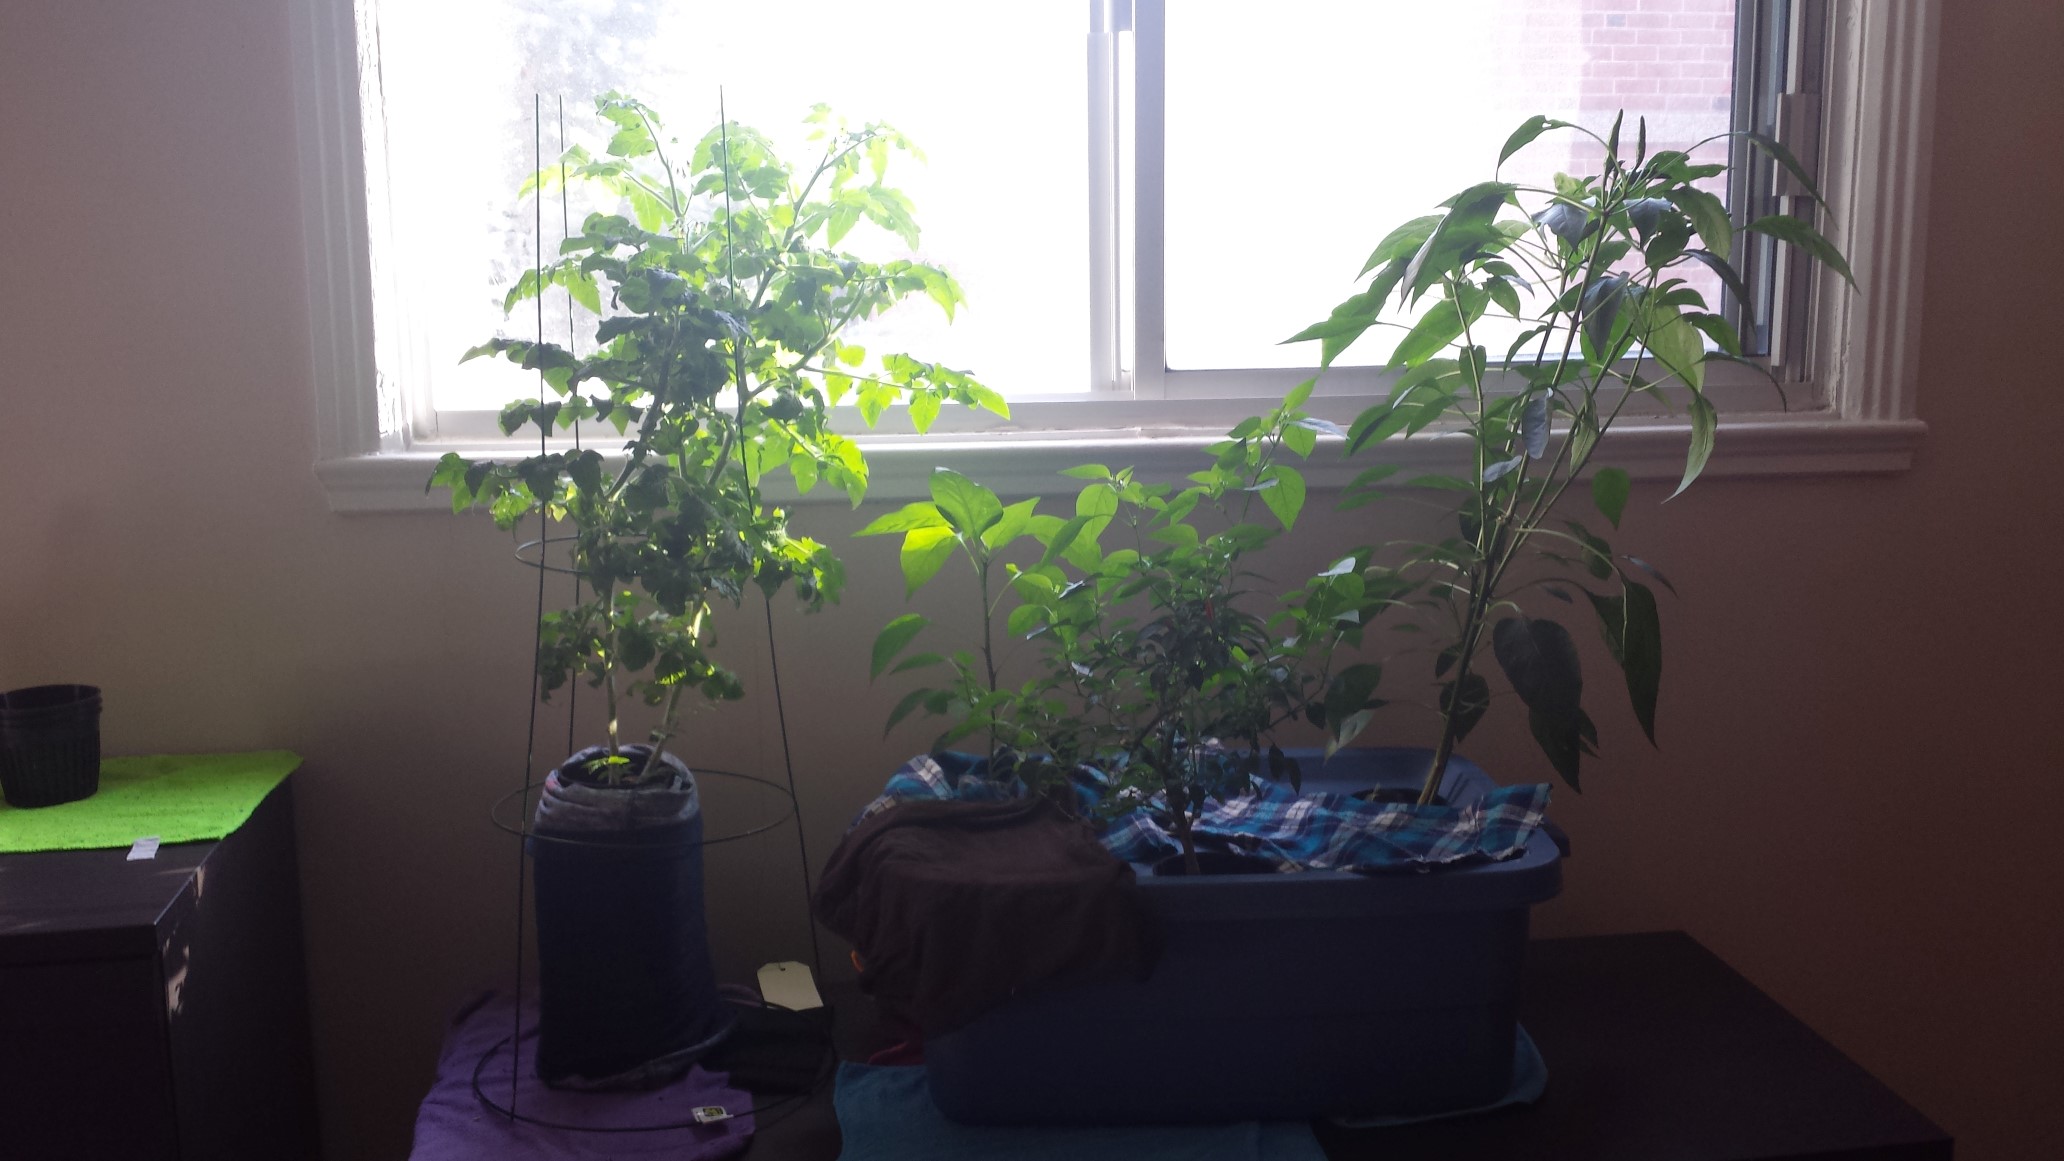
The big system here is the ‘big brother’ to the one from the workshop. It’s a 38L tote with 6 holes for 3″ net cups, currently hosting 3 kinds of peppers. I taped plastic over the unused holes to improve the humidity seal and covered them with fabric scraps for lightproofing.